Custom Header
“Headers” are a Quality Management (QM) feature that allows users to add a header section on the top of the forms with customized optional items. It is while creating a form that the header can be added, so that when performing an evaluation, the evaluator can provide more context to the call/evaluation, if needed.
Note: The options added on the “Header” tab will not be scored.
Creating a Custom Header
To create a Header to be added to the form, please follow the steps below:
1. Once you have logged in as an Administrator, go to the Forms section.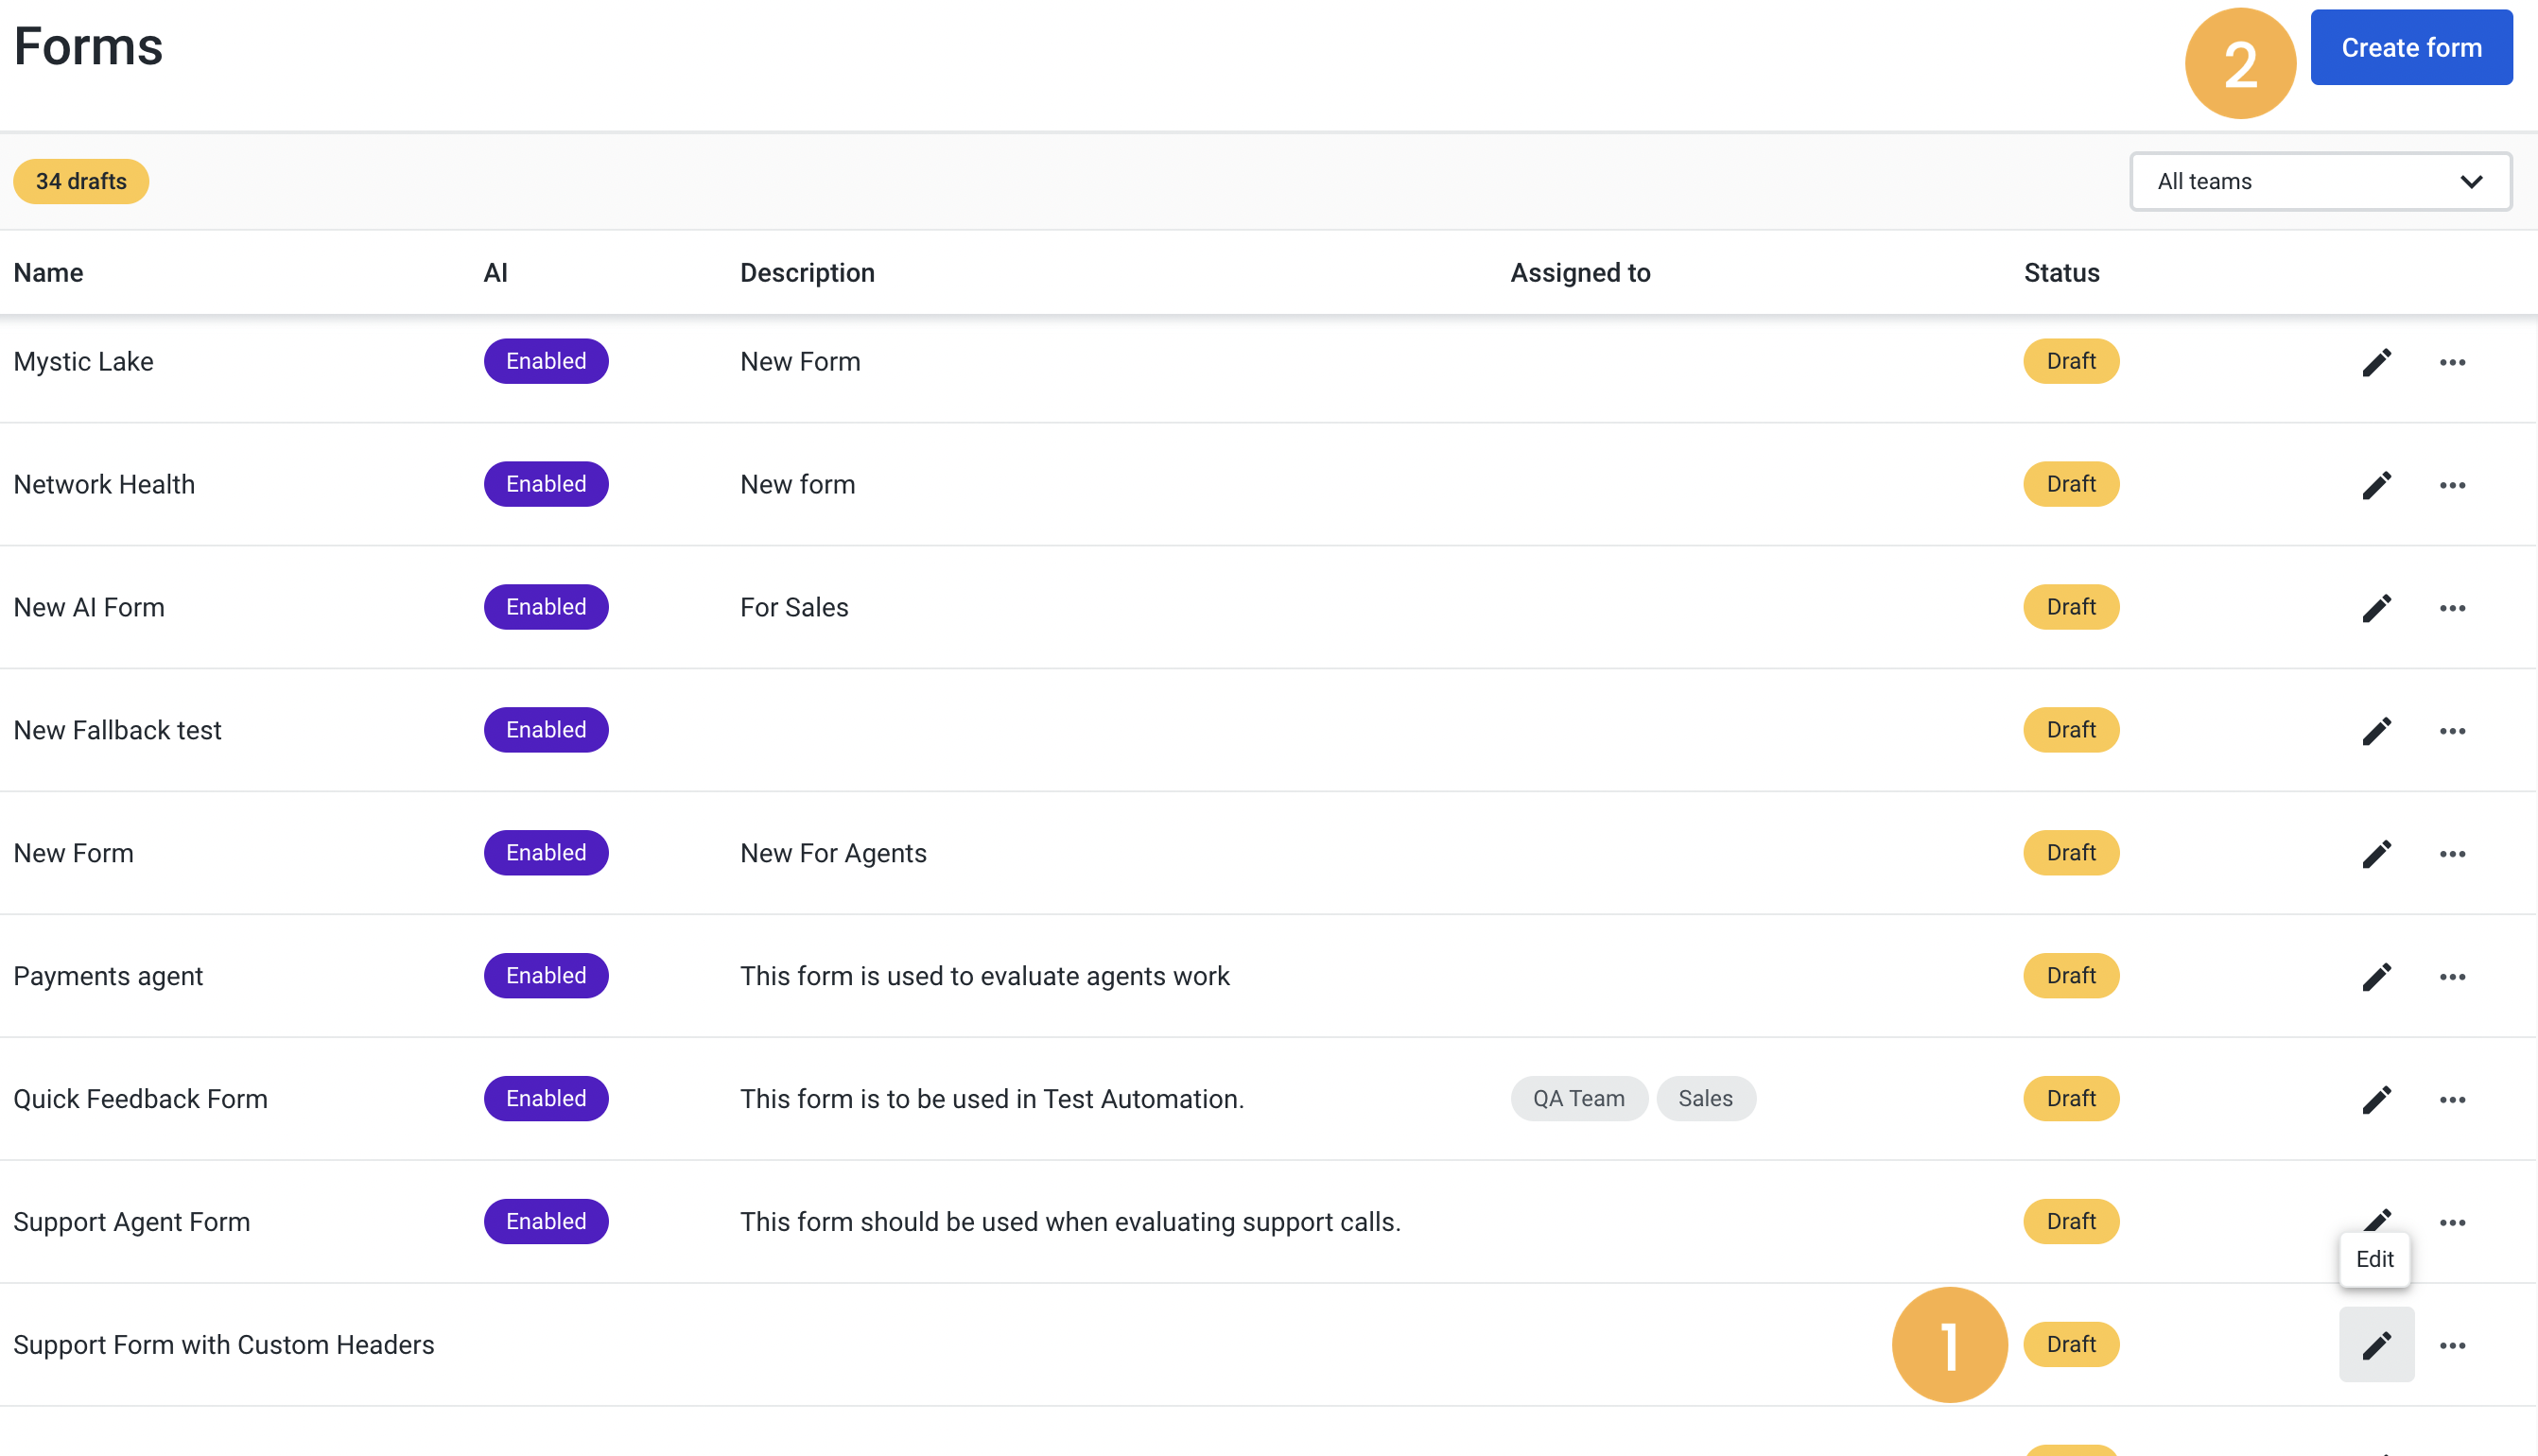
2. Edit a form in “Draft” status [1] or create a new one [2].
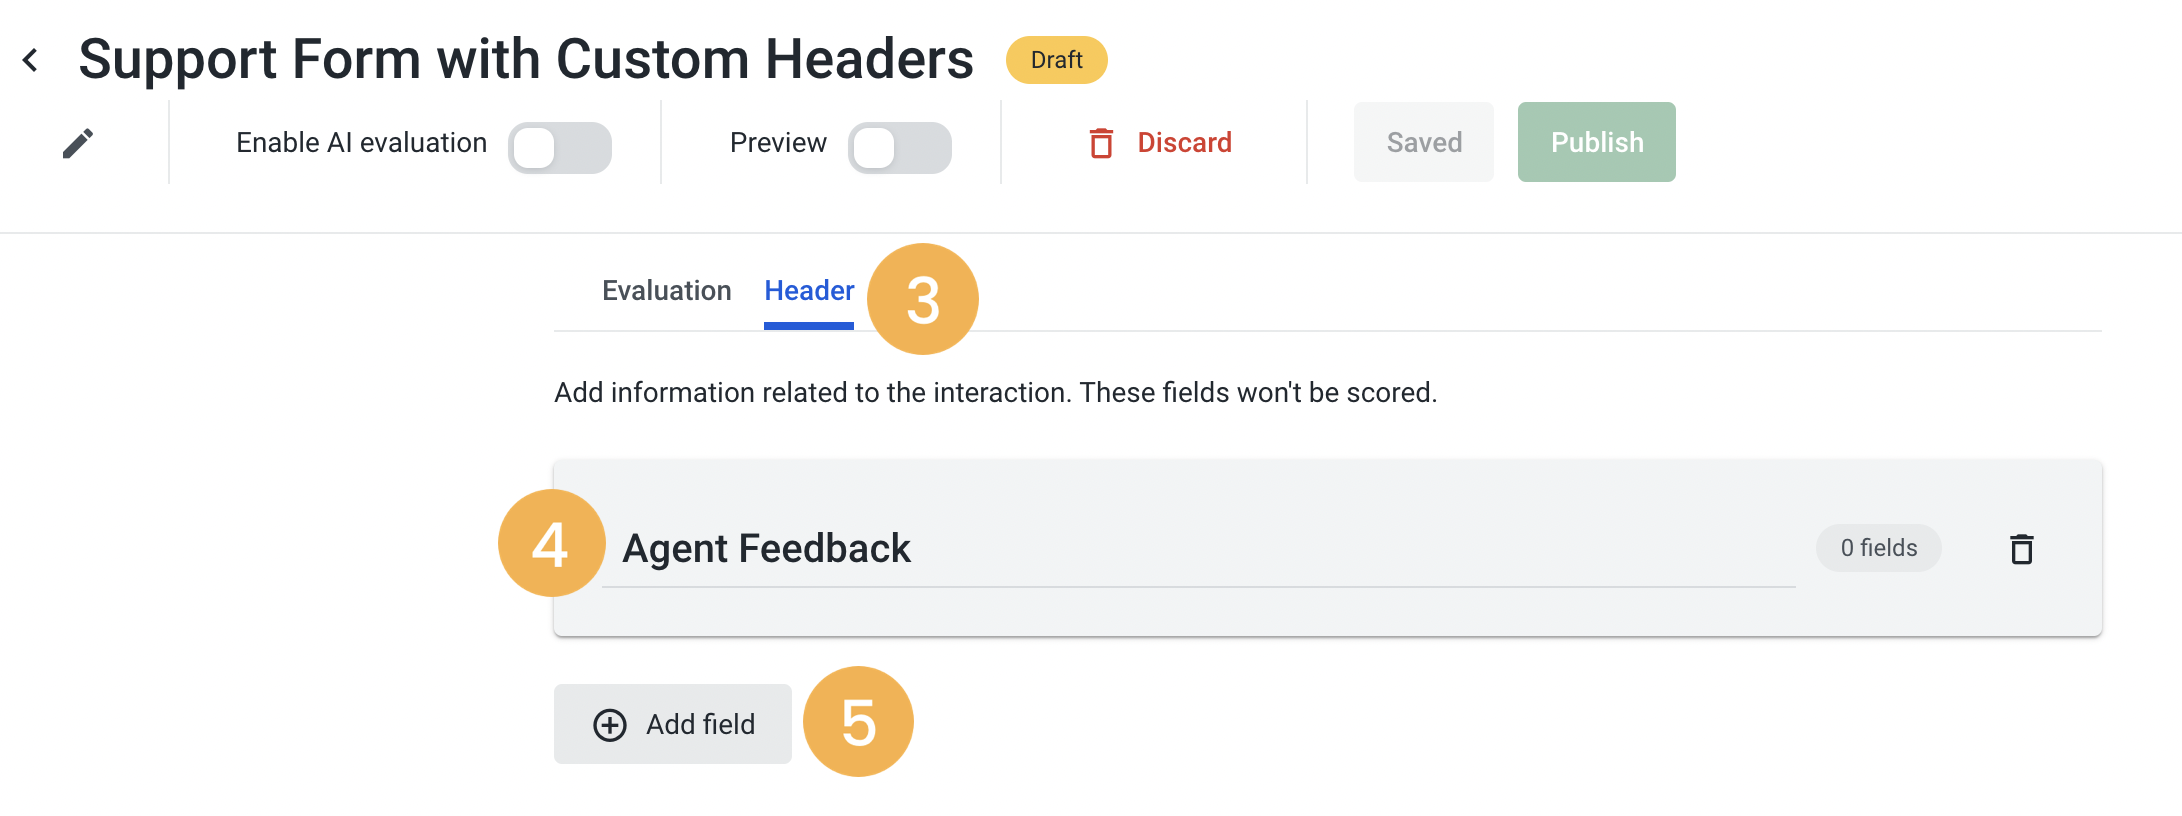
3. Select the Header tab [3], and If you wish, insert a header name [4].
4. Click Add field [5].
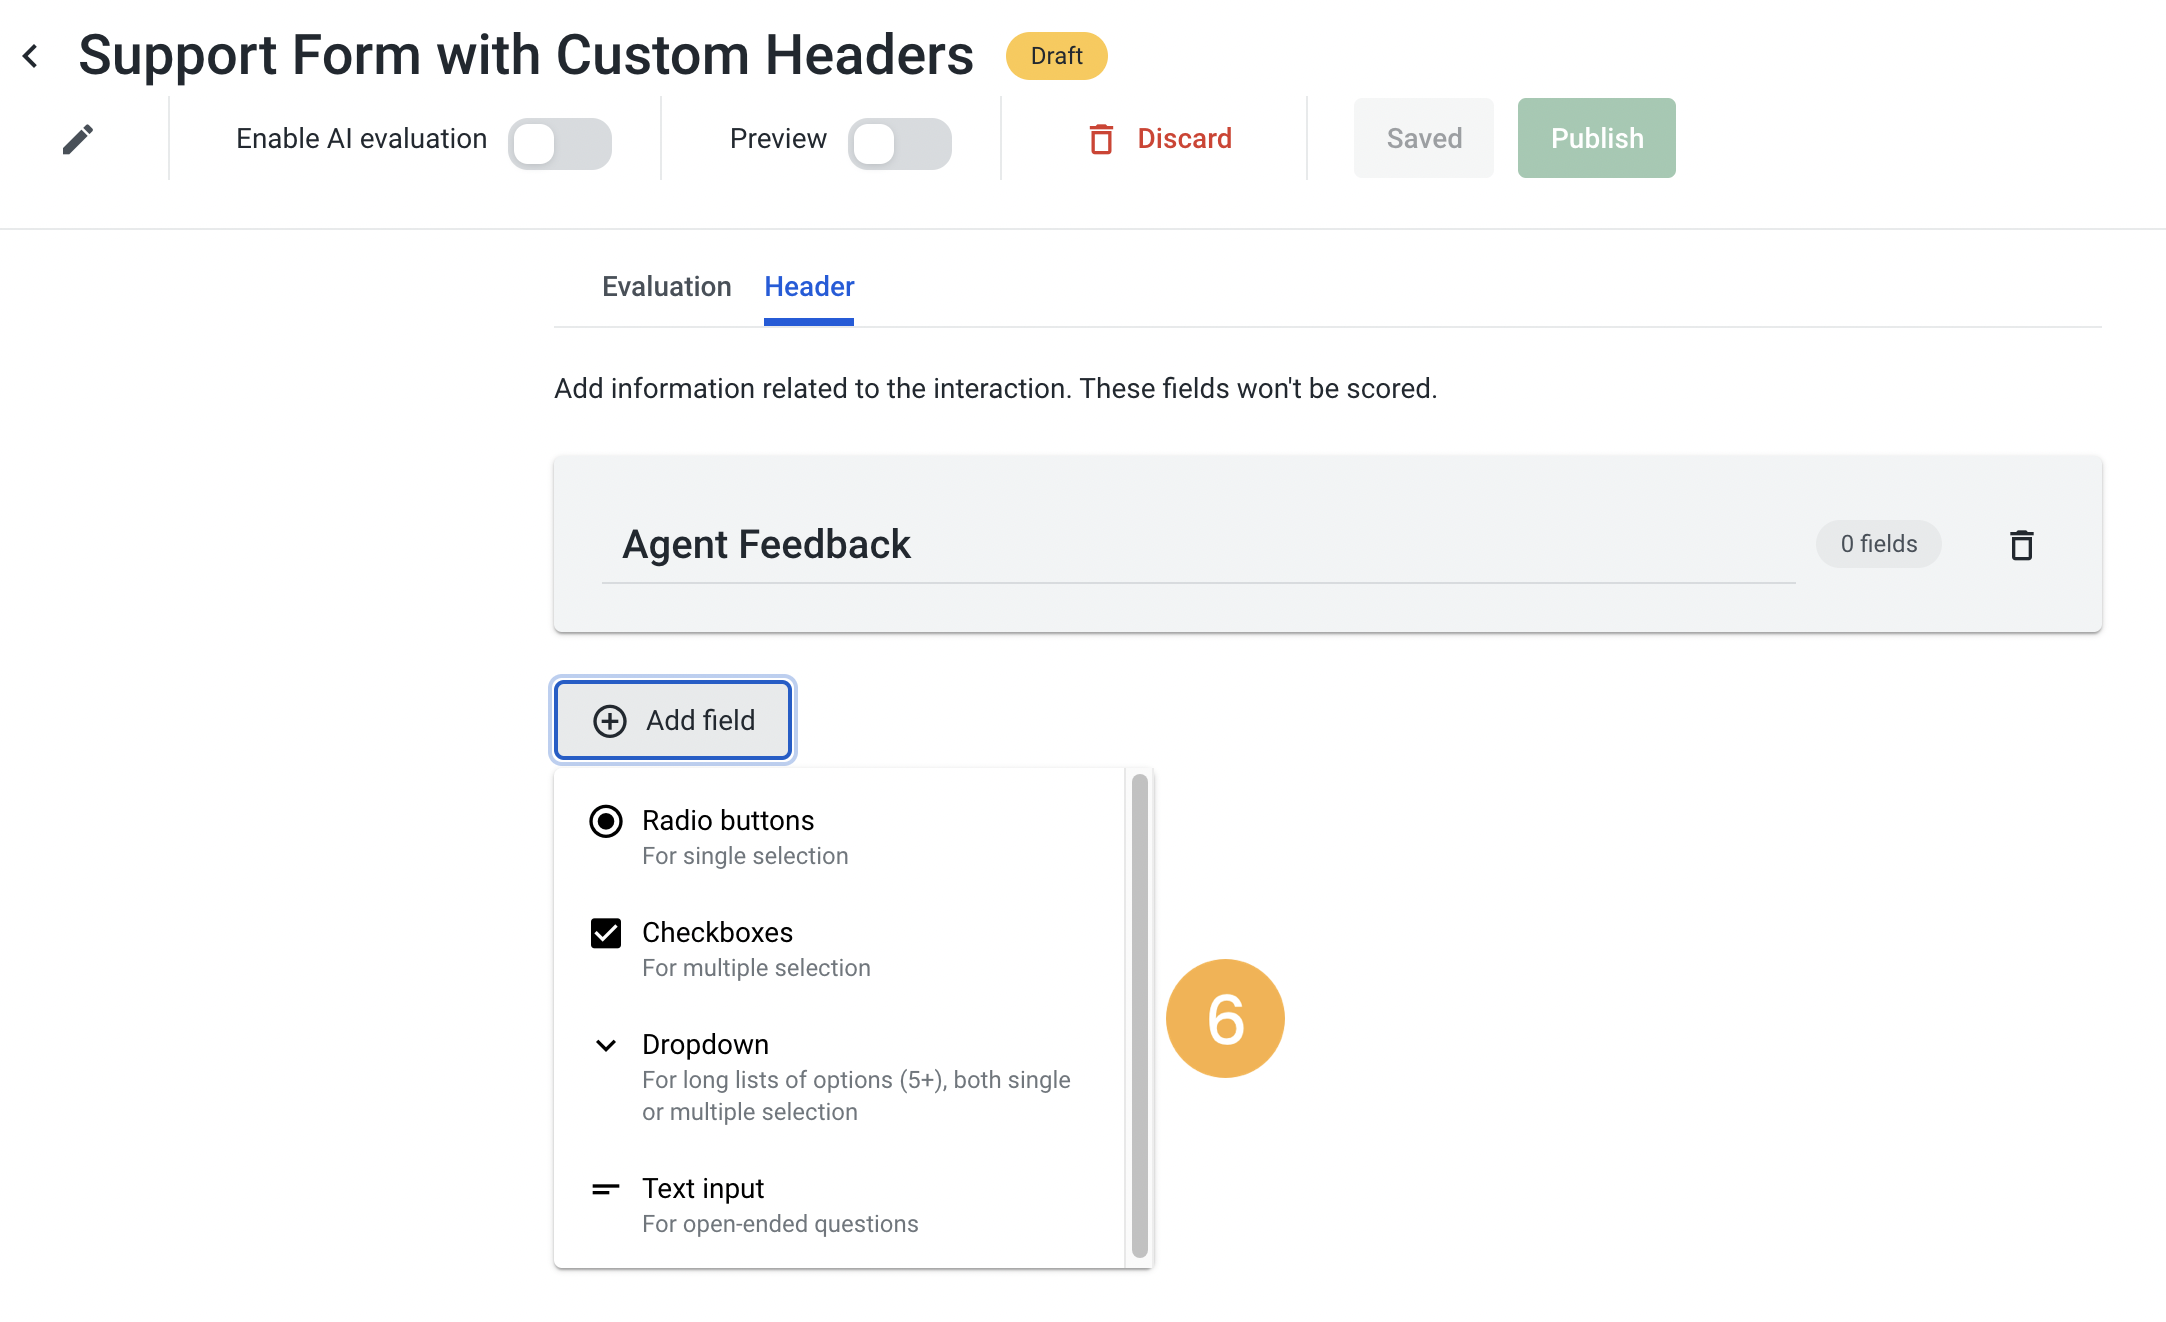
5. Choose between the following options, on the dropdown list [6]:

- Radio buttons [7]: For single selections.
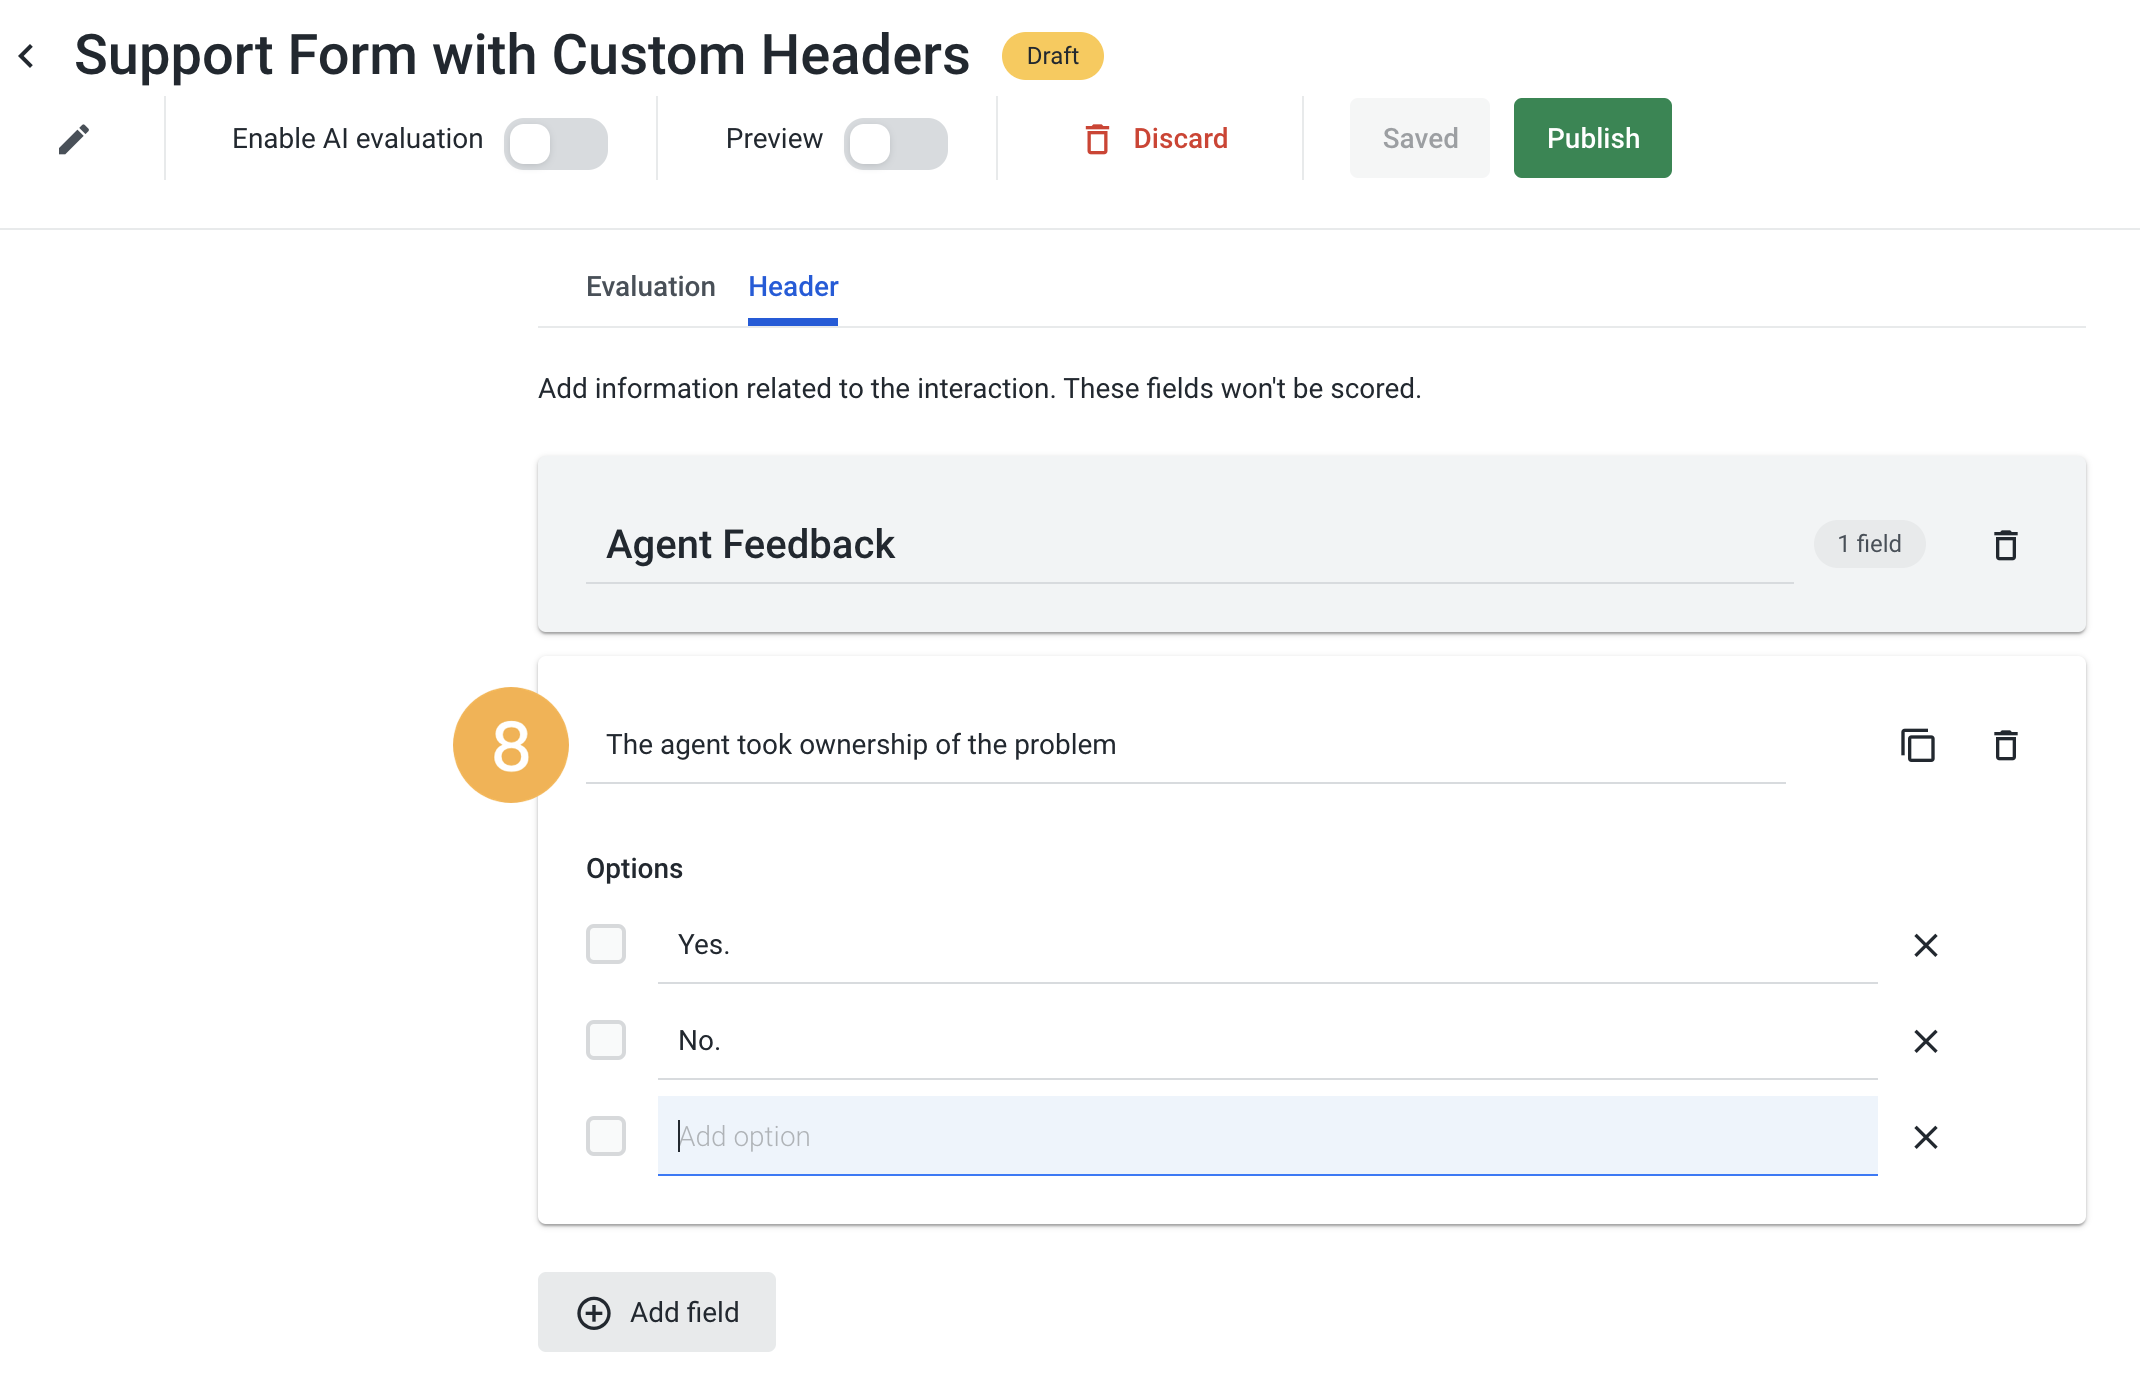
- Checkboxes [8]: For multiple selections.
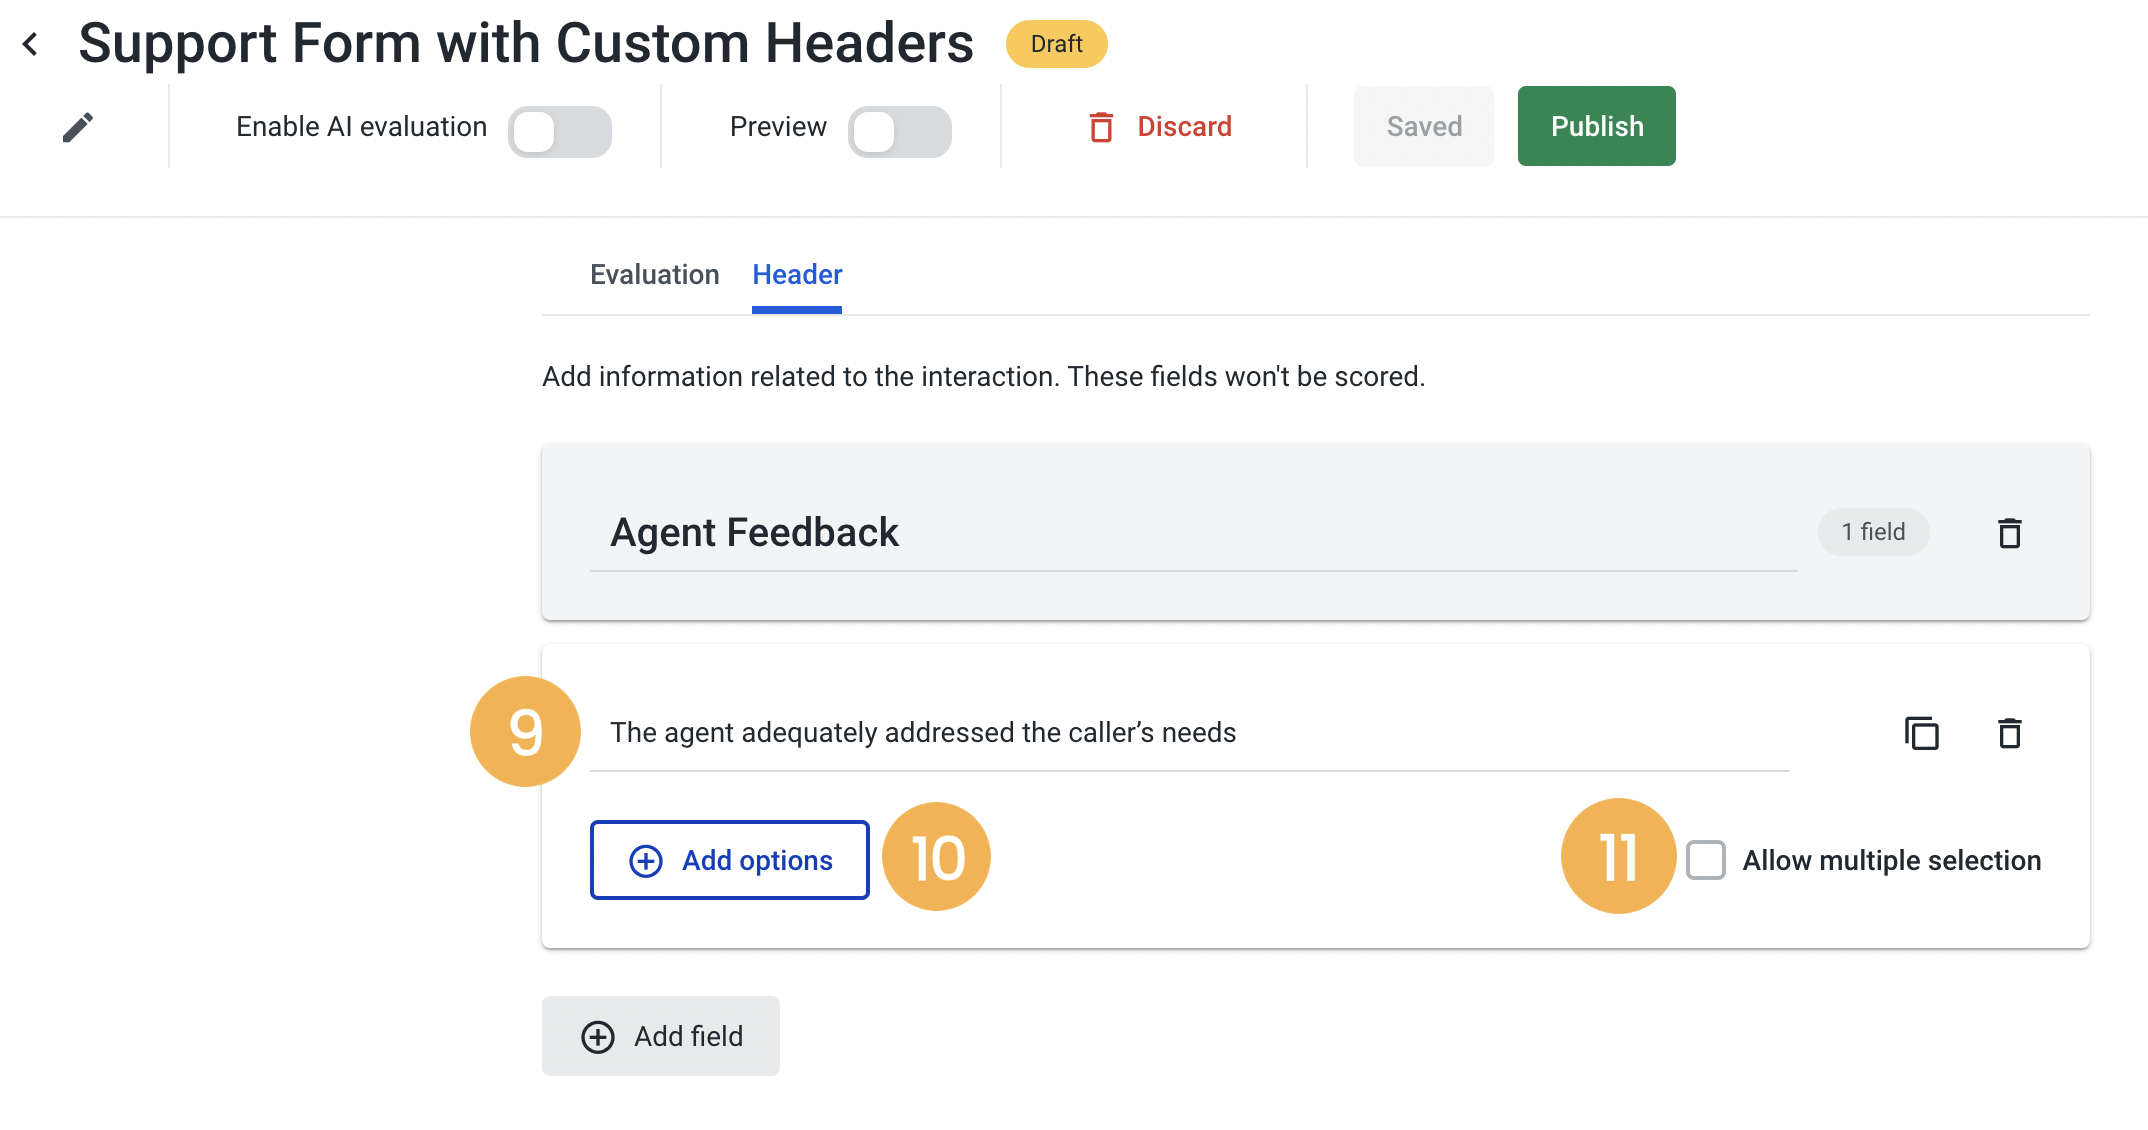
- Dropdown [9]: For long lists of options (both single and multiple selection), press Add options [10]. Note: If you wish, you can “Allow multiple selection” [11].
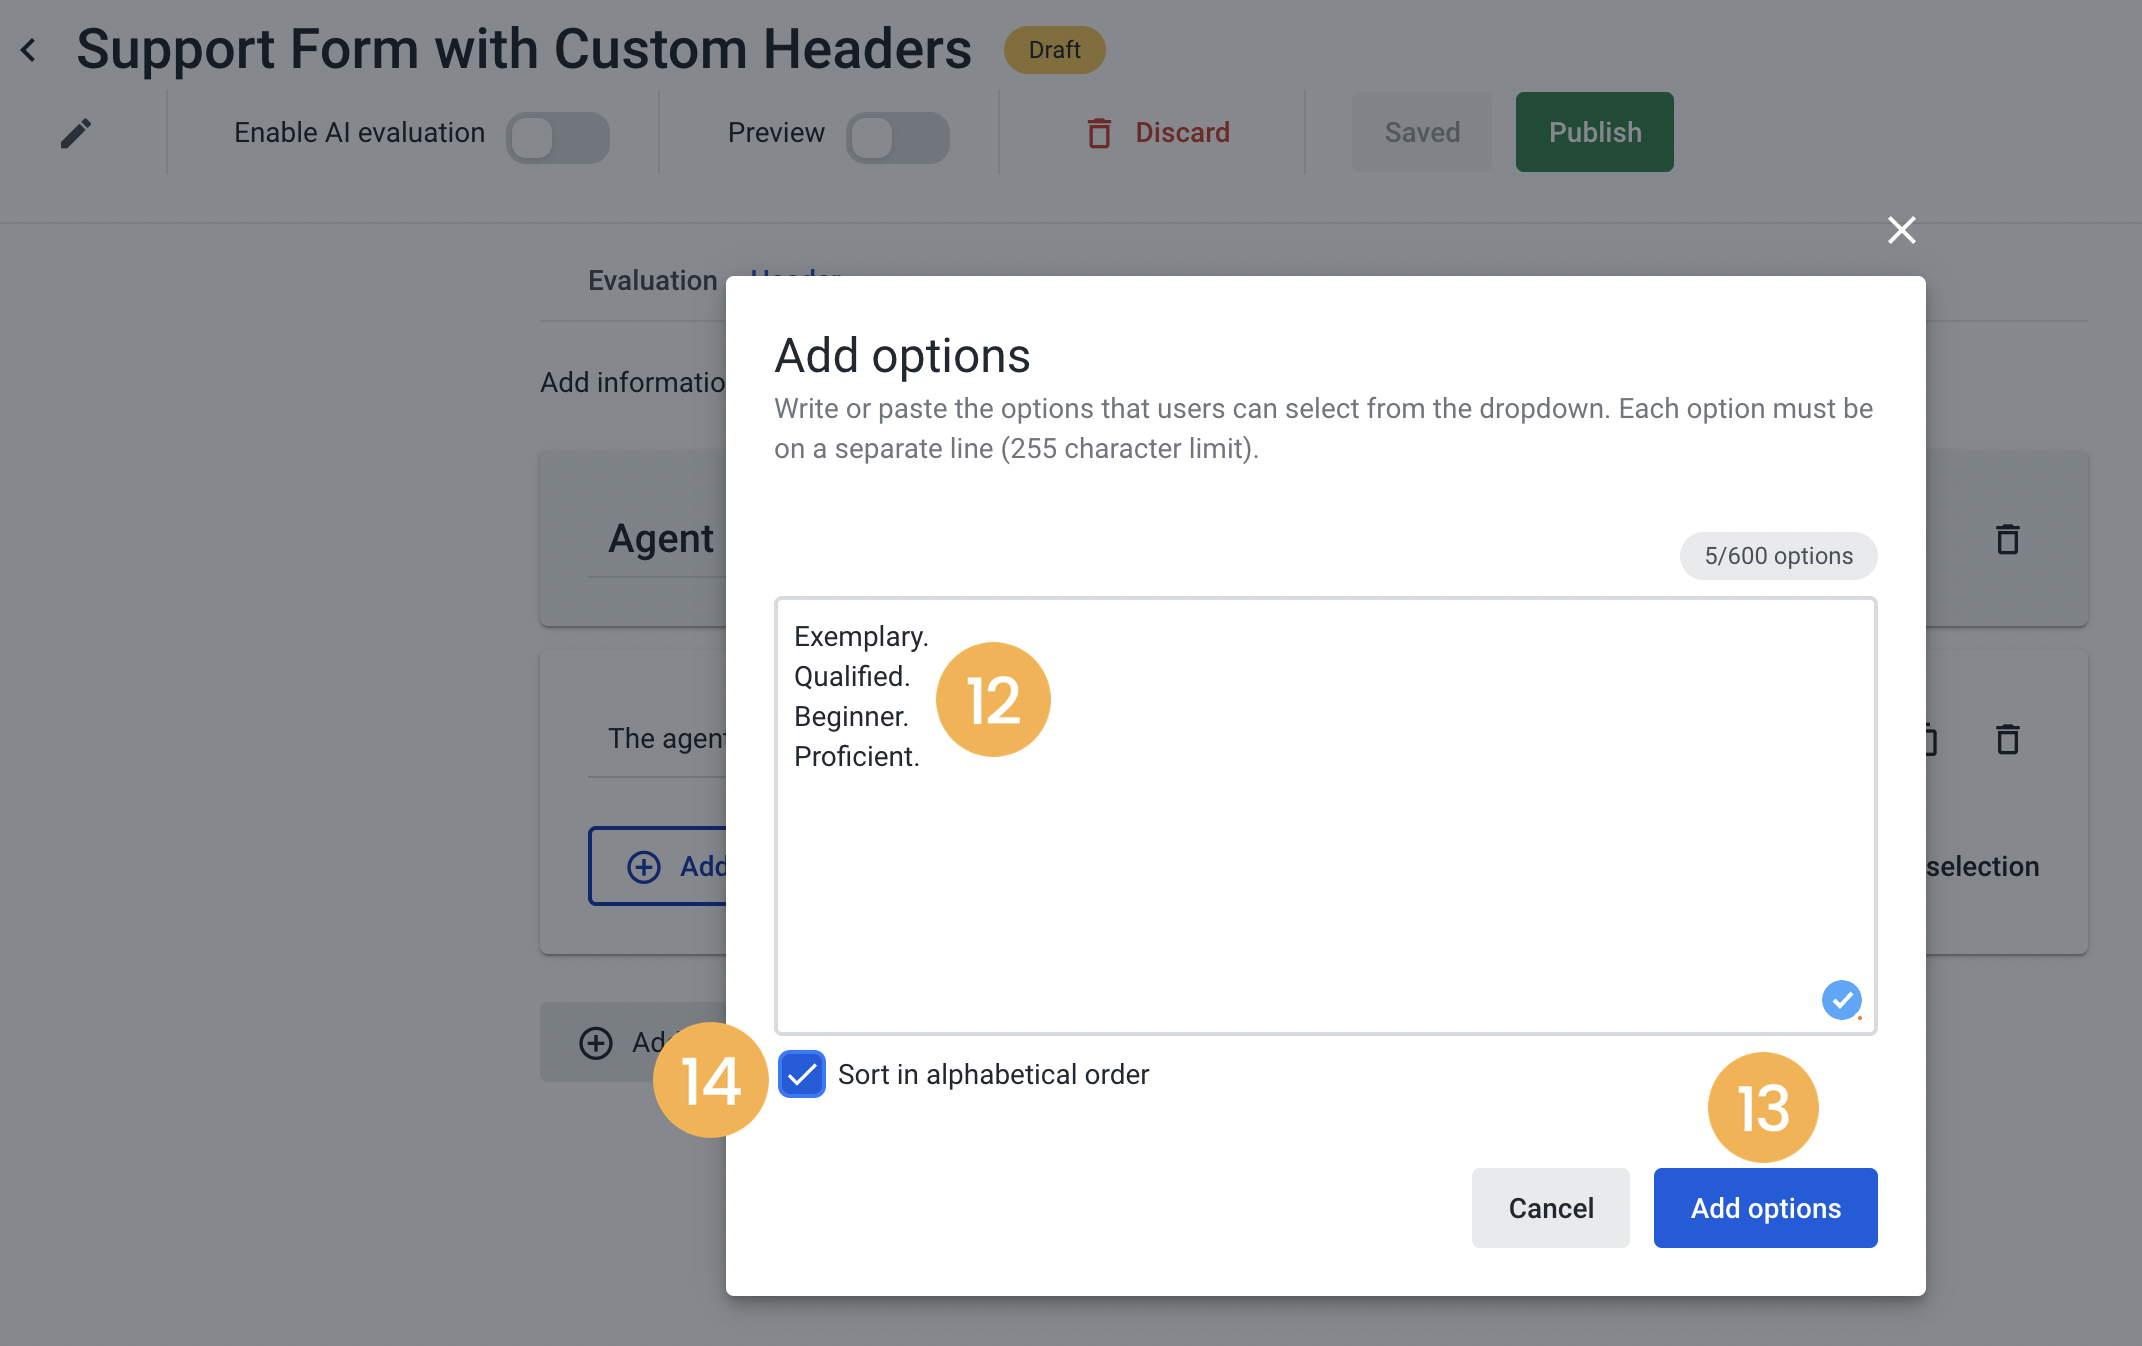
Then, type or paste the options that users can select from the dropdown [12]. Be aware that each one must be inserted on a separate line. When you finish adding the options, click on the Add options button [13]. Note: You can add up to 600 options in total, and sort them in alphabetical order [14].
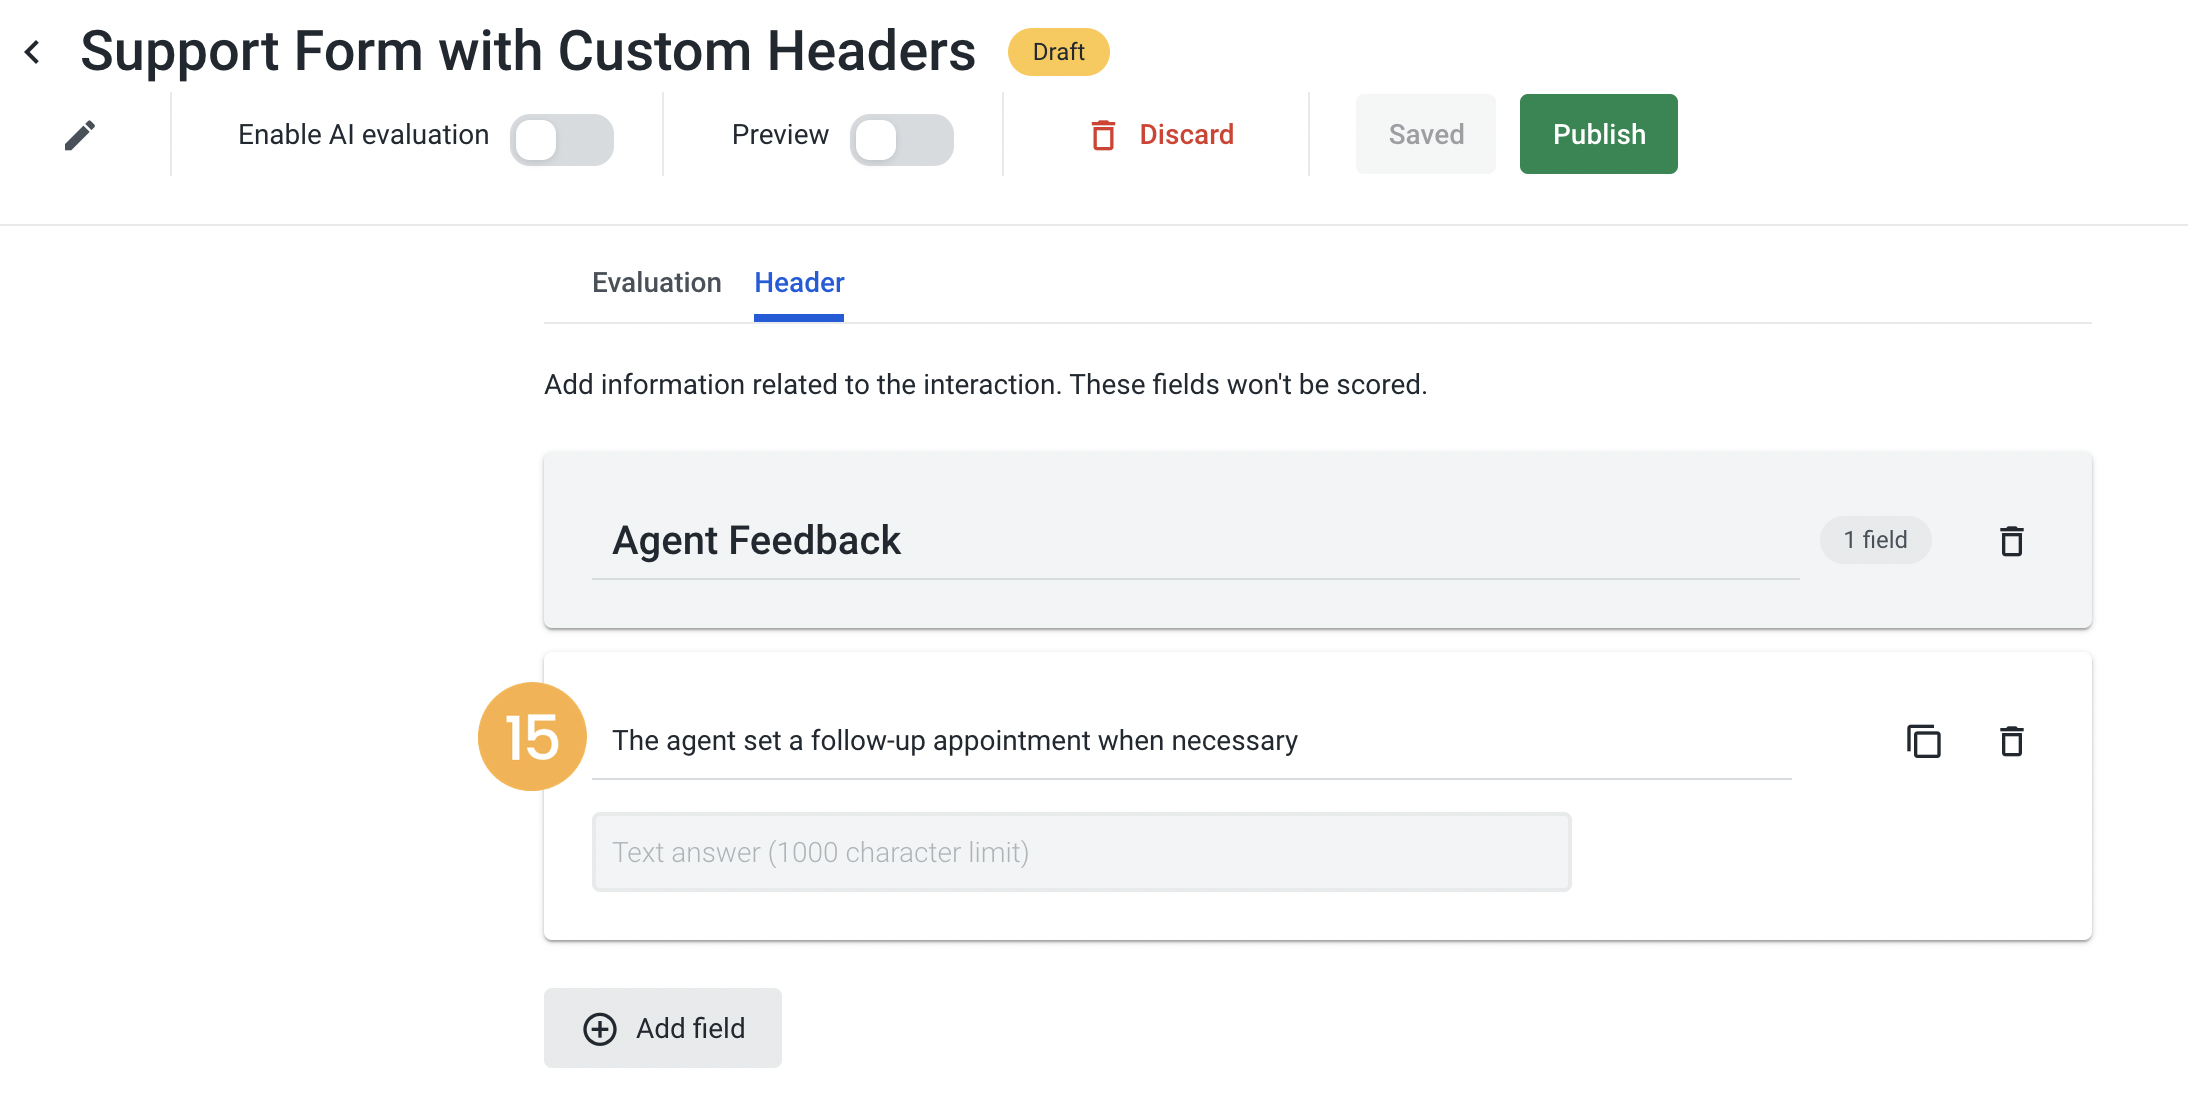
Text input [15]: For open ended-questions.
Note: You can switch the toggle to the right if you wish to see a “Preview” of the header added to the form [16].
6. Once you are finished, click on the Publish button [17]. This will make the header available to be used in an evaluation. Note: Please bear in mind that the Header is part of a form, so it can’t be added or edited separately. Once the form is published, it will be published as a whole (not only the Headers).