As an Admin, you can create an Event-Based Automation (EBA) to reduce repetitive tasks for your Agents. As they run and fire on cases, you can edit, deactivate, delete, and reorder automations if needed.
Creating an Event-based Automation
To do so, follow these steps:
- Click
 in the upper-left corner.
 - In the side panel that appears, click the gear icon
 [1].
[1]. - On the “Configurations” page, go to the Business rules tab [2] and select Event-based Automations [3].
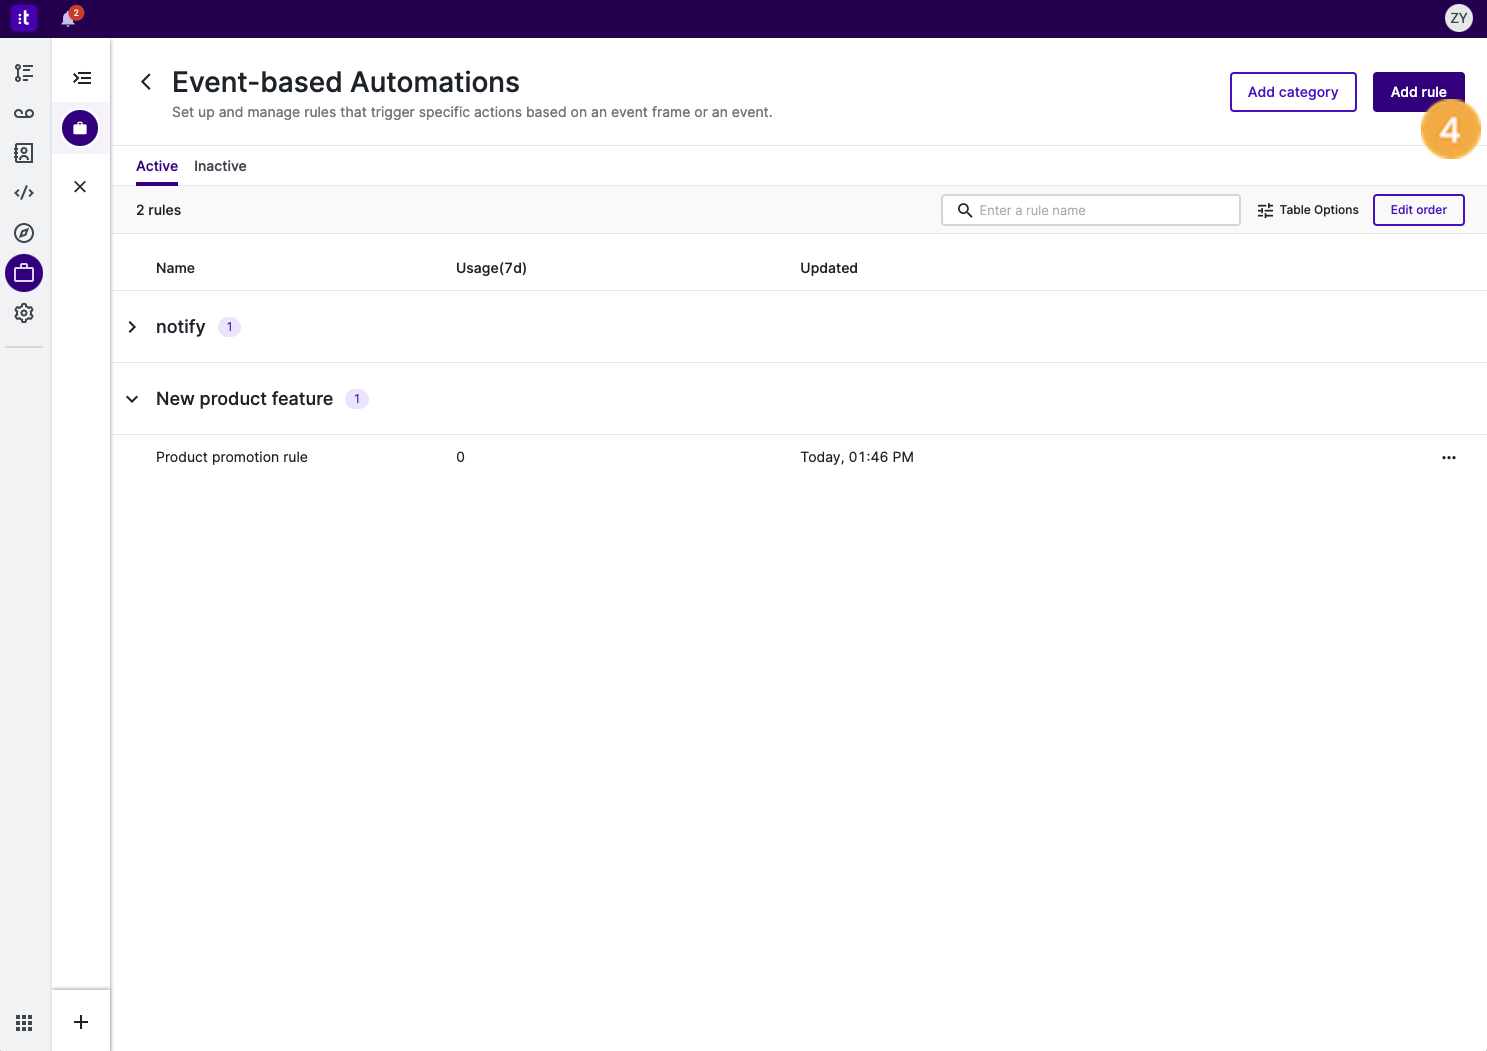
- Select Add rule [4].
- Provide the necessary details of the automation:
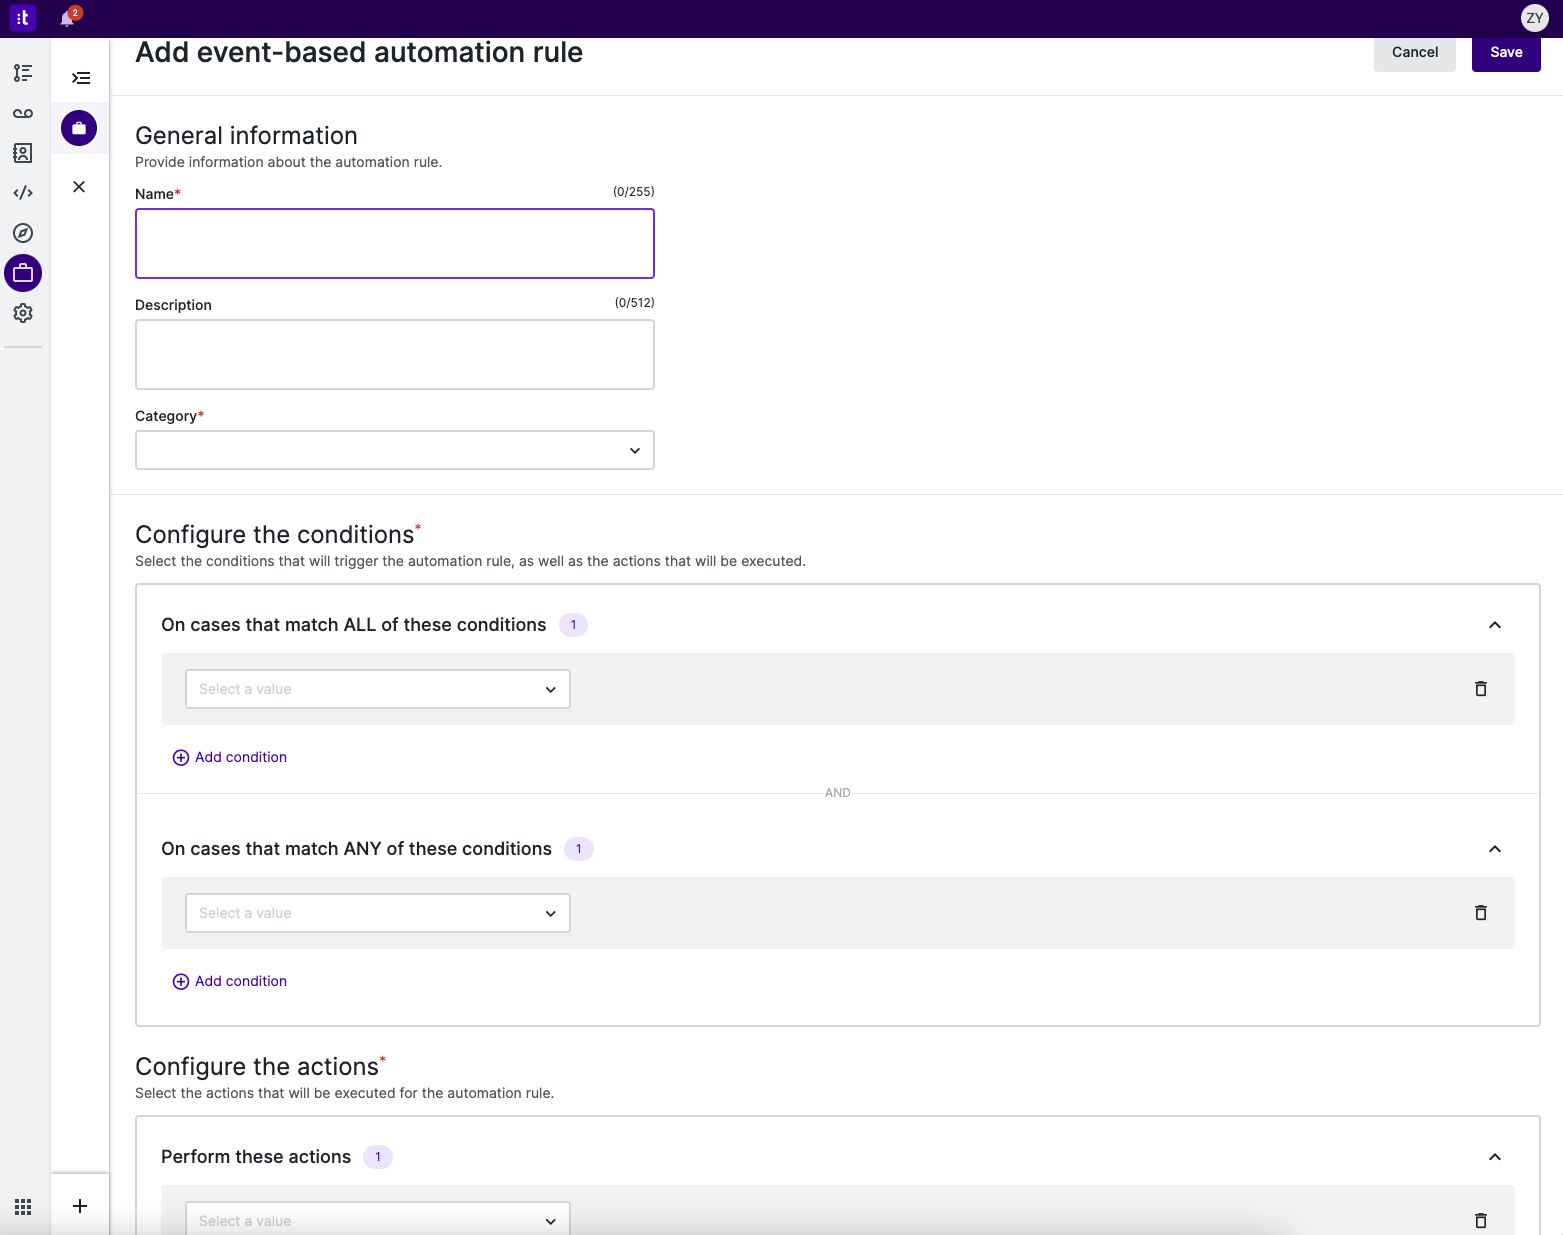
-
- “Name”: The name of the automation that appears in the automation list.
- “Description”: A description of the automation that provides more information.
- “Category”: The category the automation belongs to. Select an existing category from the drop-down list or click Add category to create a new category.
- “Configure the conditions”: Set conditions for the automation based on different case fields, event-based events, or tags.
-
- “On cases that match ALL of these conditions”: The automation applies to cases that meet all the conditions set in this section.
- “On cases that match ANY of these conditions”: The automation applies to cases that meet any of the conditions set in this section.
-
- “Configure the actions”: Set one or multiple actions for the automation. The actions defined will be performed on cases that meet the conditions.
-
- Click Save. The newly created automation appears on the Active tab on the “Event-based Automations” page.
After the automation is created, you can view its execution number over a predefined period of time (for example, the past seven days) in the “Usage” column.
To edit columns, click Table Options and check the desired property.
Managing an Event-based Automation
- Go to the “Event-based Automation” page.
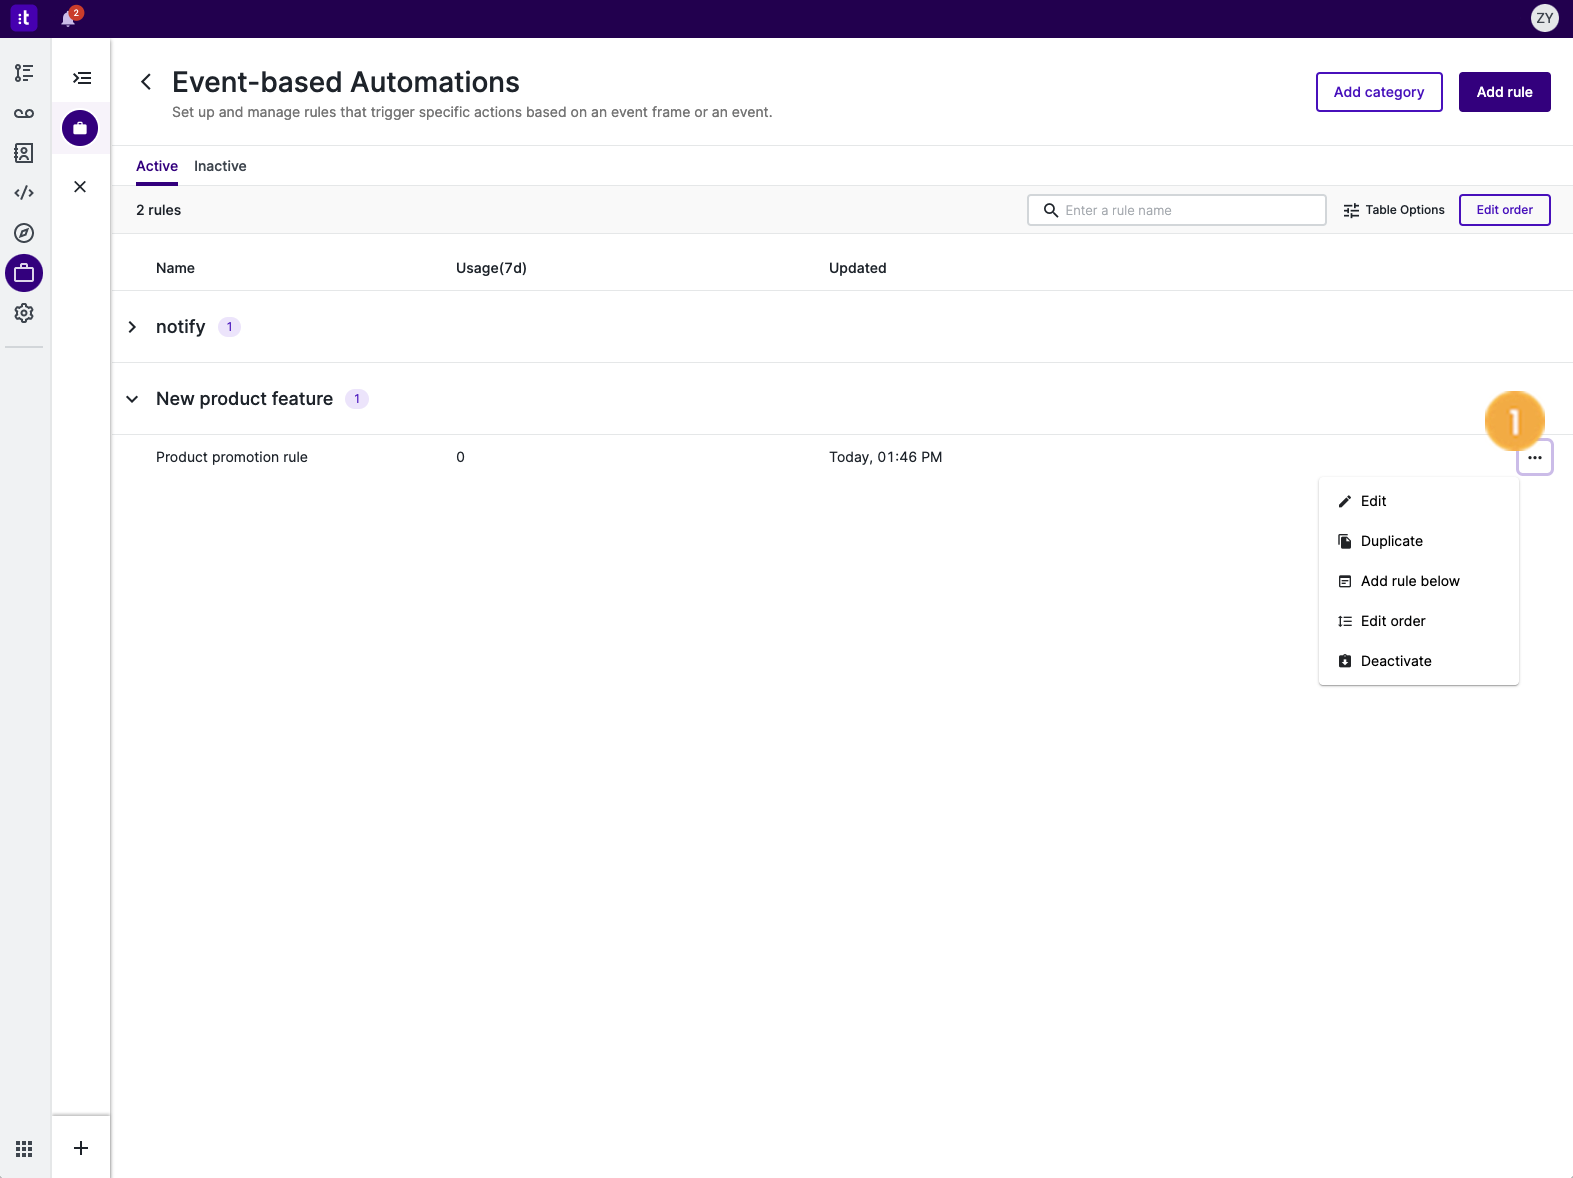
- On the Active tab, click the ellipsis icon
 next to any automation [1], and select any of the following options:
-
- Edit: Updates the information on the existing automation.
- Duplicate: Creates a new automation based on the existing automation. On the automation setting page, as fields are prepopulated, you can use it as a template and make any changes to quickly create a new automation.
- Add rule below: Creates a new automation under the same category.
- Edit order: Reorder event-based automations. Drag the six-dot icon in front of an automation to another location in the list. You can reorder automations within a single category or across categories. The order determines which automation runs first.
- Deactivate: The automation becomes unavailable. The automation will be moved to the Inactive tab after it is deactivated.
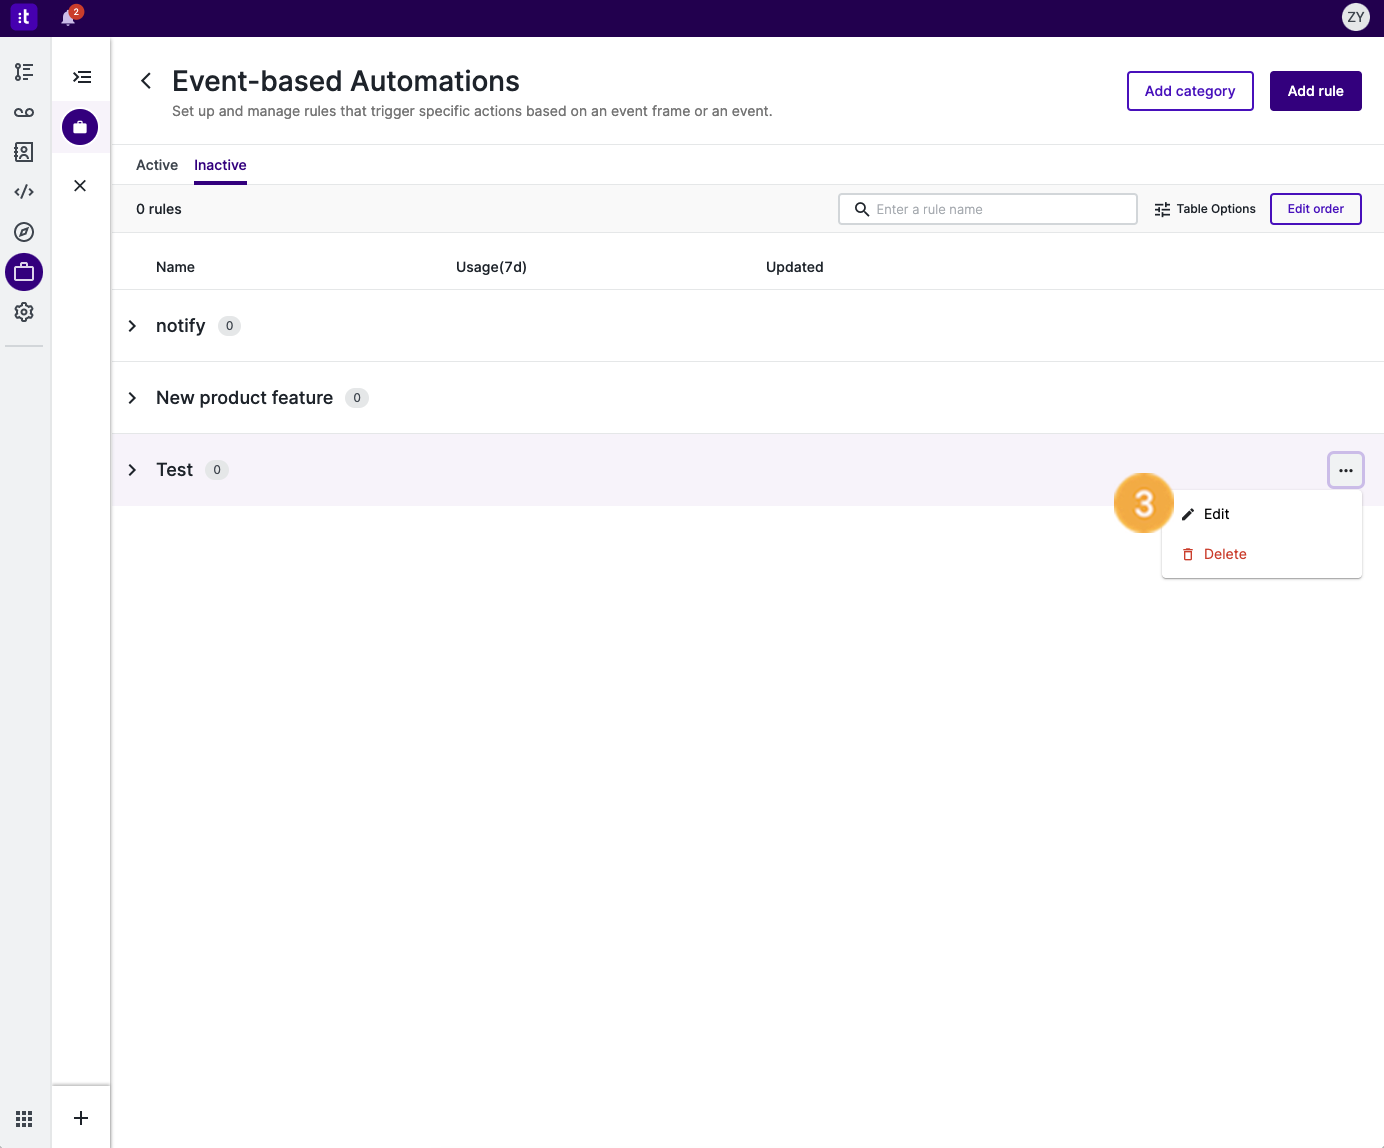
- On the Inactive tab, clicking the ellipsis icon will also show options. In addition to editing and duplicating the automation (see the previous step for details), you can also select any of the following options:
-
- Activate: the automation becomes available again. It will be moved to the Active tab after it is reactivated. A reactivated EBA does not retroactively run on cases created or updated in the past.
- Delete: Removes the automation from your account permanently. Exercise caution when deleting an automation as the operation is irreversible.
Notes: When reordering automations, keep in mind that actions defined in an automation may affect other automations. For example, a case property is updated due to an automation. As a result, the same case then meets (or does not meet) the conditions of automations that run afterward.
Creating and Managing Automation Categories
Administrators use categories to group automations based on different criteria, such as functions.
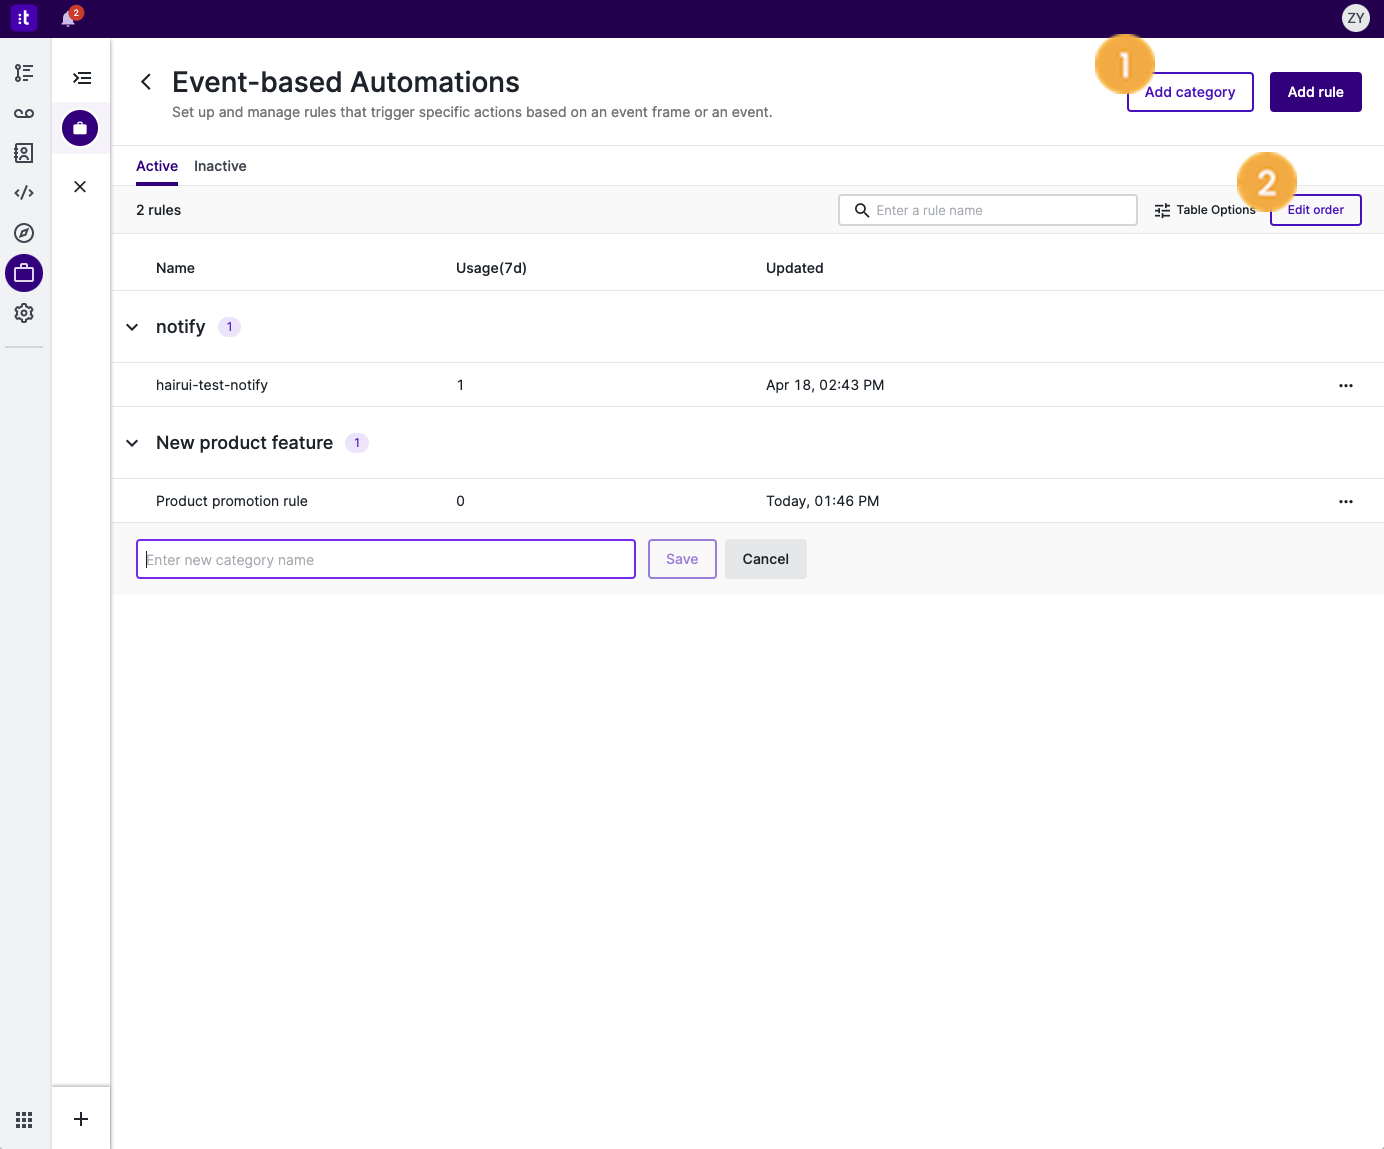
- Go to the “Event-based Automations” page.
- Click Add category [1] on the Active tab.
- Enter the category name and click Save.
- To edit the category name, click the pencil icon on the right side, change the name, and then click Update.
- To reorder a category, select Edit order [2], and click the upward or downward arrows to move the category to another location in the column.
- To delete a category, go to the Inactive tab, click the ellipsis icon on the right side, and select Delete [3]. You cannot delete a category that has active EBAs under it.
For more information, see Event-based Automation Overview and Understanding Conditions and Actions in Event-based Automations.