Dialer Lists are the link between your Salesforce records and Talkdesk campaigns. In this article we provide more information on how to create, manage, and use dialer lists in Talkdesk Dialer for Salesforce™.
- Creating a Dialer List
- Managing Dialer Lists
- Editing Dialer List Details
- Adding/Removing individual records to/from a list
- Adding/Removing entire list views to/from a dialer list
- Syncing Dialer Lists with Talkdesk Dialer
Creating a Dialer List
Note: If you don’t have the “Dialer Lists” tab, you need to add it to the Navigation bar first.
- Go to the Dialer Lists tab [1] in the Talkdesk for Salesforce app.
- Click on Create [2] and follow the steps in the wizard.
-
In the first screen, you will be able to choose:
- “List Name” [3] and “Description” [4].
- Dialer list “Type” [5]: Lists can be from the ”Dialing” or “Do not call type”. When added to a Talkdesk campaign, “Dialing” lists will contain records you want to include in your campaign. “Do not call” lists will have records you don’t want to dial at a given time, so when a “Do not call” list is added to a Talkdesk campaign, the phone numbers present in that list will be removed from that campaign, preventing them from being dialed.
- “Priority” [6]: You can assign a priority from 1 to 10 to a dialer list, with 1 being the lowest and 10 the highest priority. That priority will be used to define the order by which the lists should be dialed when added to a Talkdesk campaign.
- “Sync with Talkdesk” [7]: This option is only available for dialing lists. If you check this option, the list will be synced with Talkdesk and made available to be used with Talkdesk Dialer.
-
In the second screen, you will be choosing which records to add to the Dialer list and in which order.
- With “Object Type” [8] you can select from any standard Salesforce object, leads, contacts, cases, accounts, or opportunities. Note: A dialer list can only be based on one object.
- After selecting the object, choose any list views [9] from that object to add to the Dialer list.
- “Dialing order” [10]. In this drop-down, you can select a field to sort your records by. The fields available will be the ones present in the object type chosen. When choosing a sort by field, the list will be created respecting that order, and when added to a campaign, that will be the order by which the records will be dialed.
- “Order” [11]. Choose if the order is ascending or descending. For example, if the field you have chosen to order by is a number, choosing the order will dictate which records come first, starting with either the highest or lowest number.
- After seeing the records preview, click Save [12] and the dialer list will be created.
Notes:
- The maximum number of records a dialer list can have is 10000. If you try to create a dialer list with more than 10000 records, you will see an error message. In this case, please adjust the number of list views to add or the number of records in the list views.
- The records added to a list will be deduplicated by phone number. Each record will be added only once, even if the record is part of more than one of the added list views.
Managing Dialer Lists
After a dialer list is created, you will be able to edit some details and to add or remove list members.
Editing Dialer List Details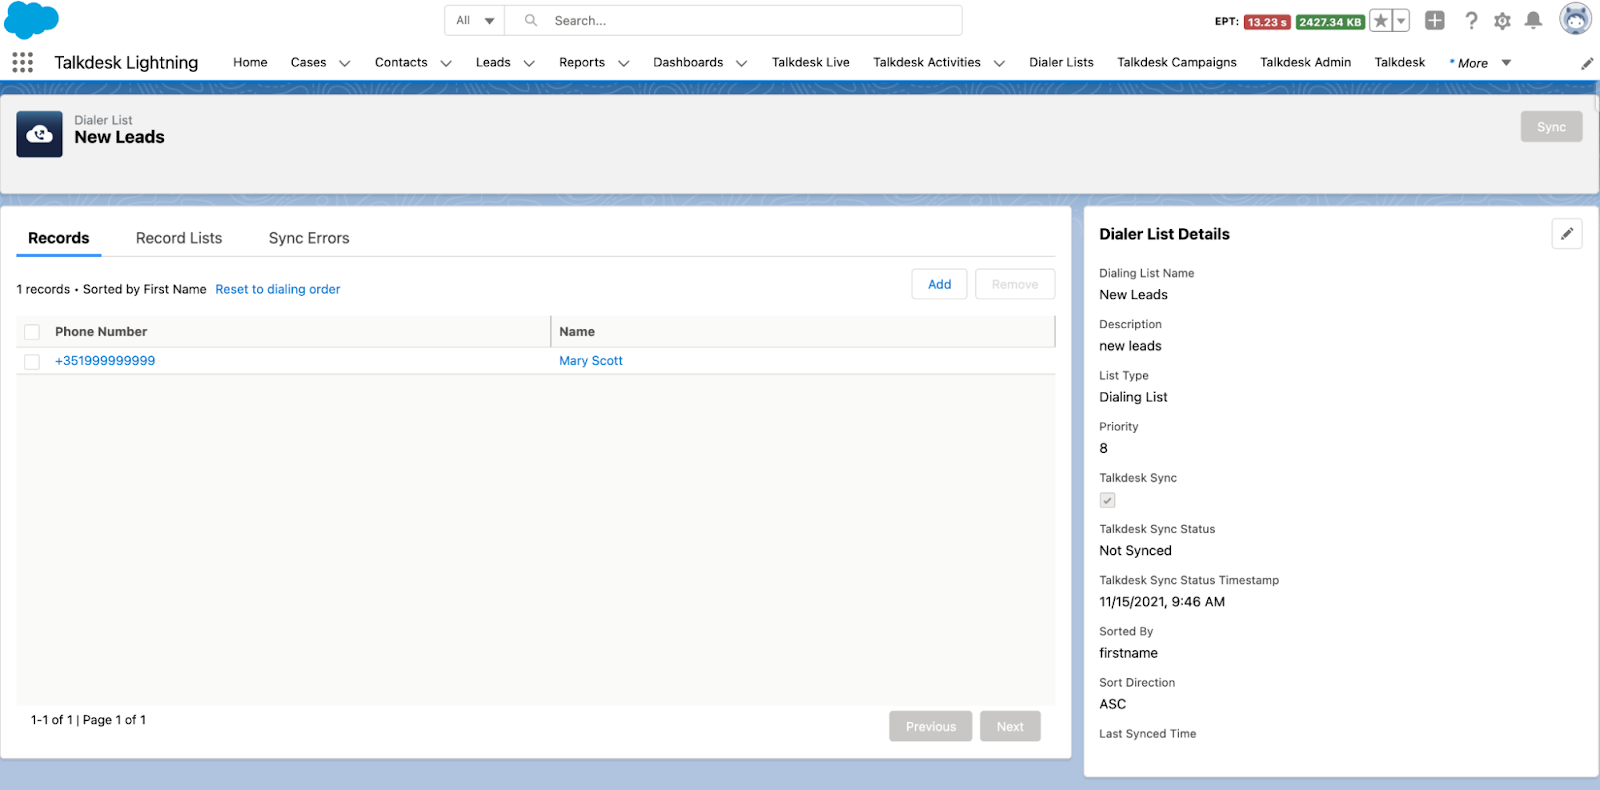
- Go to the dialer list page by clicking on the list name in the view of dialer lists.
- To edit the details, click the Edit (pencil) icon. You will be able to edit the list name, description and choose to sync or not with Talkdesk. Note: The other fields are not editable.
Adding/Removing Individual Records to a List
- To add individual records to a list, go to the Records tab [1] and click on the Add button [2].
- Then, search for the records you would like to add and tick each one. Use the Show All to see all the records, or Show Selected [2] to see only the ones you picked.
- When you are finished, click Add [3] and the selected records will be added to your list. Keep in mind that the records will be deduplicated based on phone number, so if you are adding more than one record with the same phone number to a list, only the first selected records will be added.
- To remove records from a dialer list, go to the Records tab and tick the records you want to remove.
- When you have selected all the records to remove, click the Remove [4] button.
Adding/Removing Entire List Views from a Dialer List
You can add entire list views to a dialer list, up to a limit of 10,000 records.
- To add a new list view to the dialer list, go to the tab Record Lists [1] and click the Add [2] button.
- Then, choose from the “Lists” drop-down menu [3] which are the lists you want to add and click the Add button [4].
Note: The records will be deduplicated based on phone number and added up to the 10,000 limit of records in a dialer list.
- To remove whole list views from a dialer list, go to the Record Lists tab and select the list views you want to remove.
- When you finish your selection, click Remove [5].
Notes:
- When you remove a list view from a dialer list, all records that were added to the dialer list based on that list view will be removed from the dialer list.
- The records are deduplicated when added to a dialer list. However, if a specific record was present in more than one list view at the time at which those list views were added to the dialer list, this means that when one of those list views is deleted, the record will remain on the dialer list. That specific record will only be removed if all the list views to which it belongs are removed from the dialer list.
- If you want your dialer lists to update dynamically, please follow the instructions in this article.
Syncing Dialer Lists with Talkdesk Dialer
When you enable the Sync with Talkdesk option on a dialing list, either during list creation or by editing the list later, the list and its records are made available in Talkdesk Dialer.
Only Dialing lists can be synced; Do Not Call lists are not synced to Talkdesk Dialer.
The following fields are synced from Salesforce for each record in the list:
| Field | What is synced |
|---|---|
| Phone number | The contact's phone number, normalized to a standard format. |
| First name | The contact's first name. Falls back to the last name if no first name is set on the record. |
| Last name | The contact's last name. |
| List priority | The priority assigned to the dialer list (1–10) is used to determine dialing order when the list is added to a campaign. |
| Record ID | The unique Salesforce record identifier (18-character format). |
| Record URL | A direct link to the record in your Salesforce org, accessible from within Talkdesk Dialer. |
| Time zone | The time zone used for scheduling calls to this contact. This is resolved from the record, list, account, or system default, depending on your Dialer time zone settings. |