With automations, your agents can stay busy handling calls and avoid having to manually update two systems.
Configuring an automation's filters
Configuring an automation's input fields
In order to have an Automation with Connections, you’ll need to have a Connection configured. If you haven’t configured one yet, please consult the article Creating a Connection with Talkdesk Connections.
To create an Automation, please follow the steps below:
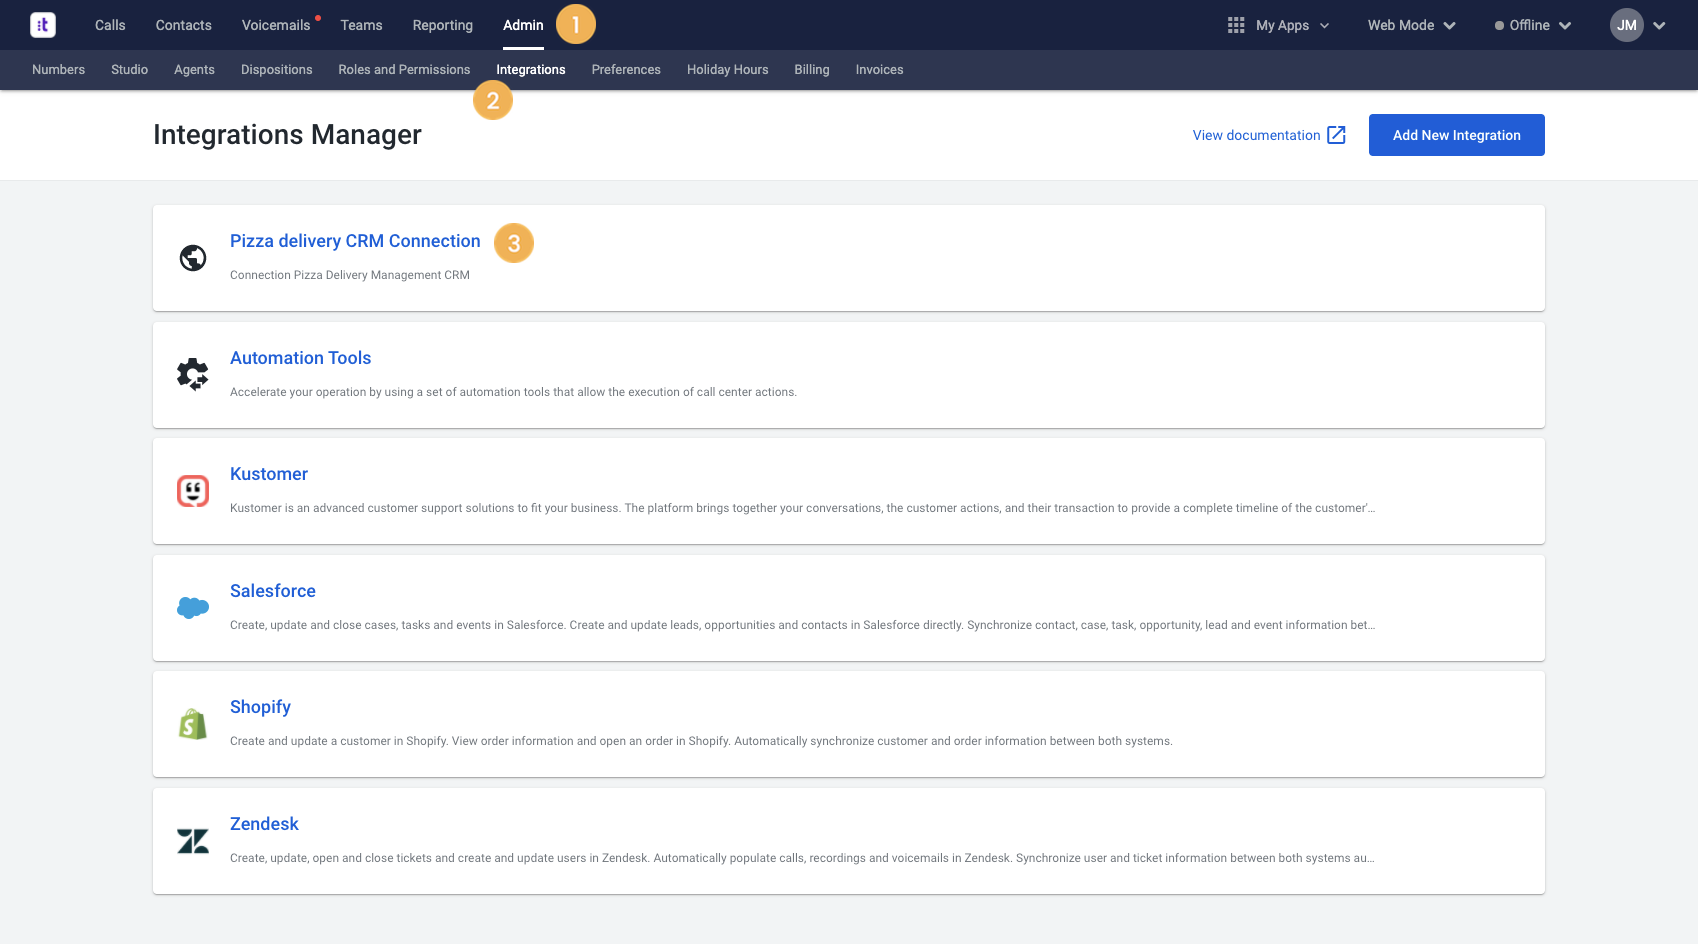
- Log in to your Talkdesk account as an Administrator
- Click on Admin [1].
- Select the Integrations [2] tab.
- Click on the custom integration for which you want to create an automation [3].
To create an Automation, you’ll need an Action. If you haven’t configured one yet, please refer to the article Creating an Action in Talkdesk Connections.
Depending on whether you have Automations configured, you may see one of the following screens:
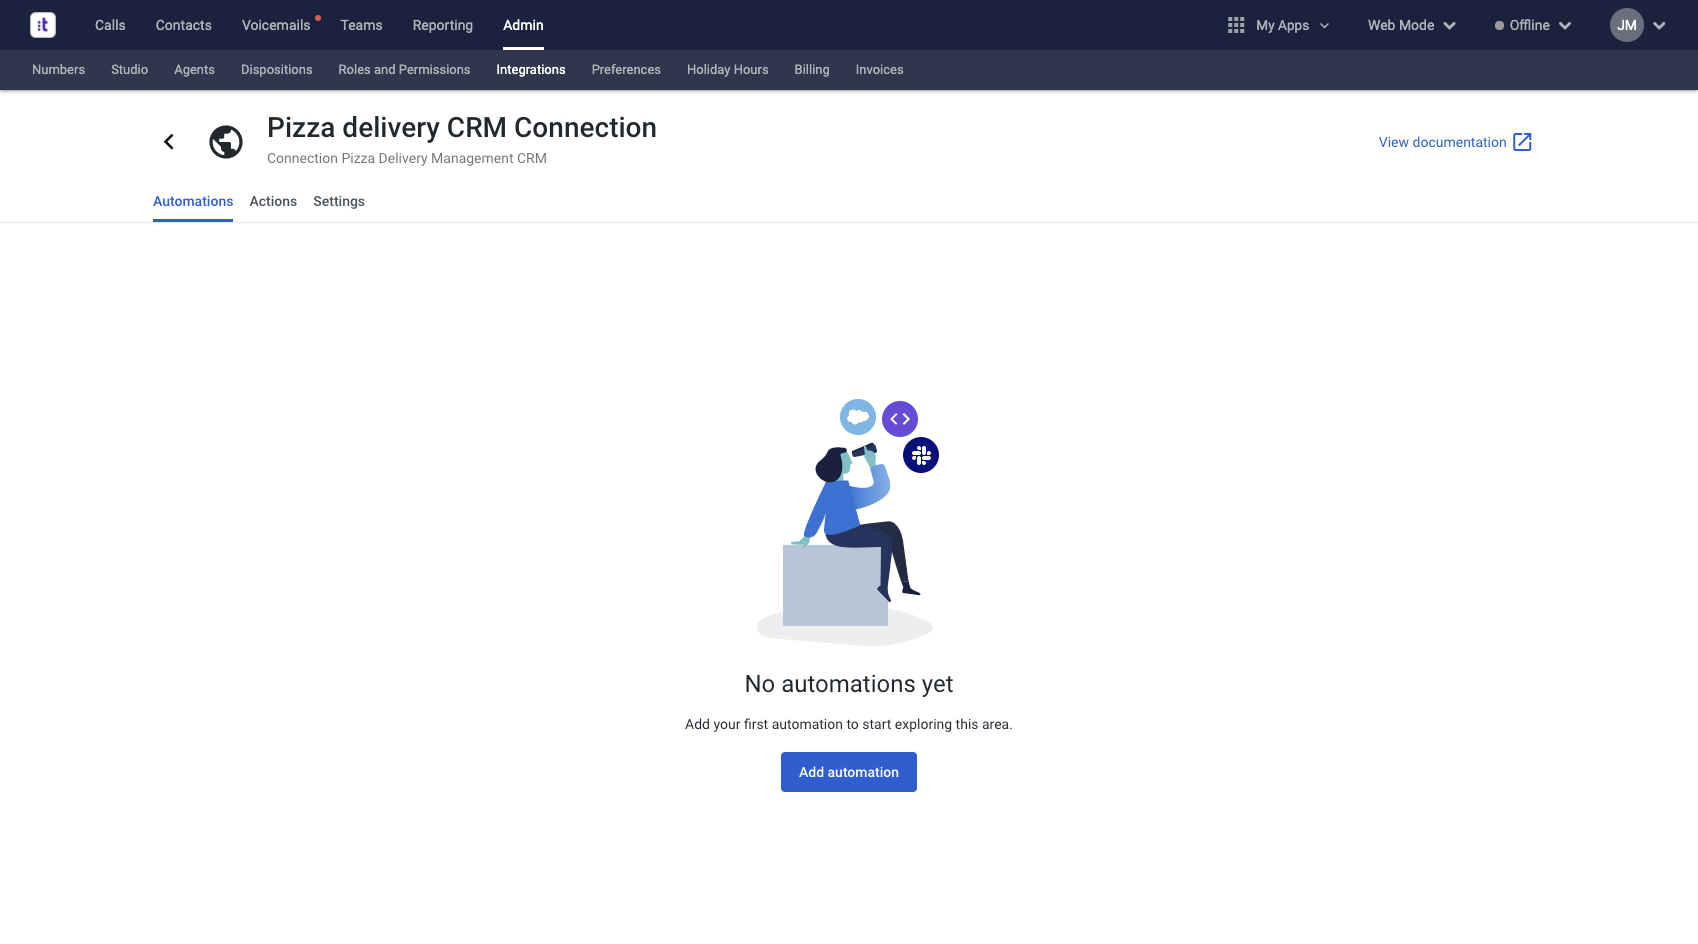
- There are no automations created yet.
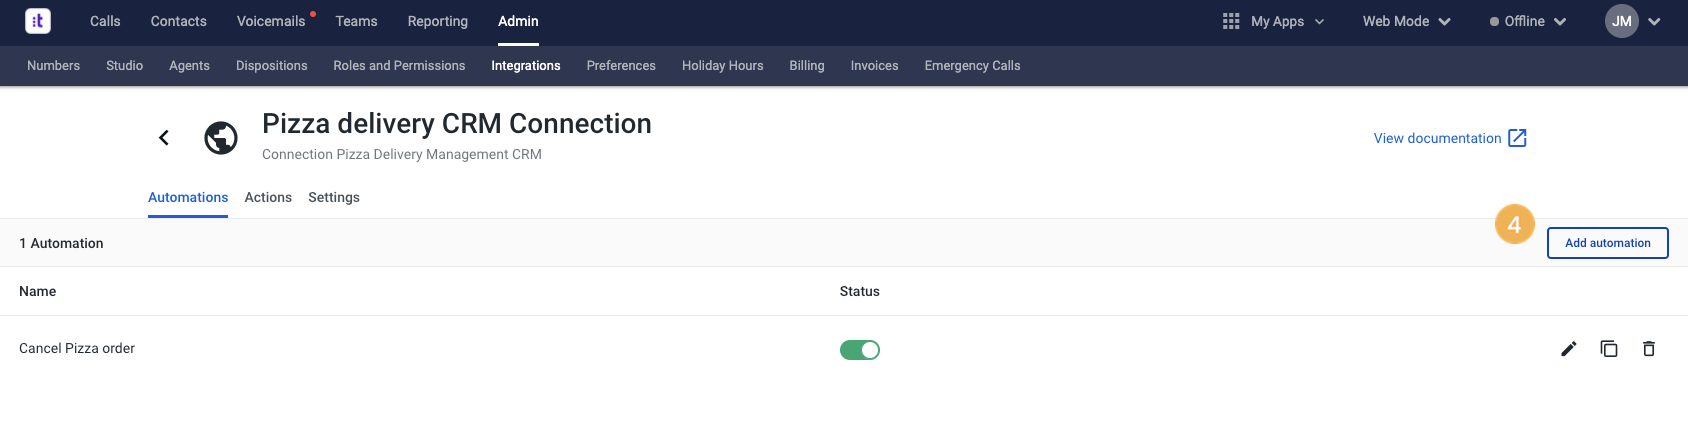
- You already have automations configured for this Connection.
In either case, click on Add automation [4].
On the Add automation screen, follow the steps below:
General information

- Fill the “Automation name” [1] field with the automation name.
- Define if the automation will be enabled or disabled [2].
Configuring an automation
To successfully create an automation, select the origin system and event that will trigger the automation, as well as the action that will be executed.

- Choose the origin system [1].
- Choose the event that will trigger the automation [2].
- Choose the action that will be executed [3].
Note: Currently, each automation only supports the execution of one single-step action.
Configuring an automation's filters
Filters can be added to define when the automation will be executed. To add Filters, follow the steps below:
- Choose “Yes” [1].
- Determine the event filter [2].
- Determine the condition [3].
- Type in a value [4].
Multiple filters can be added by clicking on the Add filter [5] button.
Notes:
- These fields will appear based on the previous selection.
- The conditions “is set” and “is not set” do not require any value to be inputted. If you pick the event field “Context”, then an extra field will appear to define the context value.
- If multiple filters are added, the automation will be executed only if all the filters are met.
Choosing an action
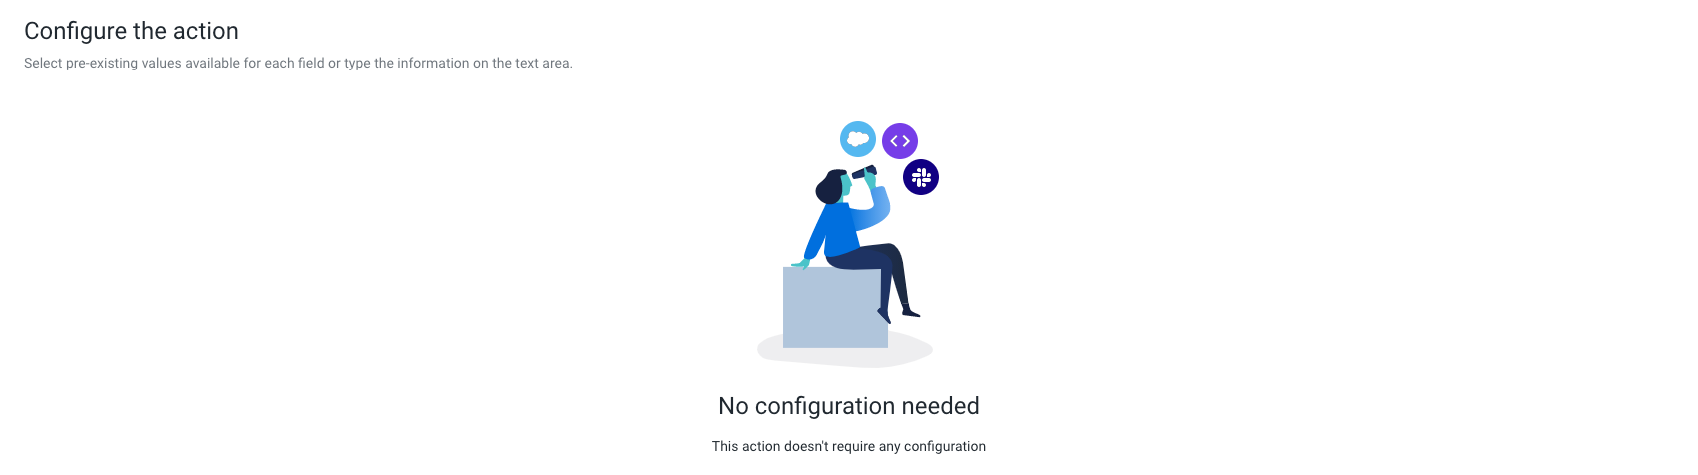
When you choose an action, two scenarios may happen:
If no fields are configured in the action, an empty state is presented as shown below:
Otherwise, two areas will appear:
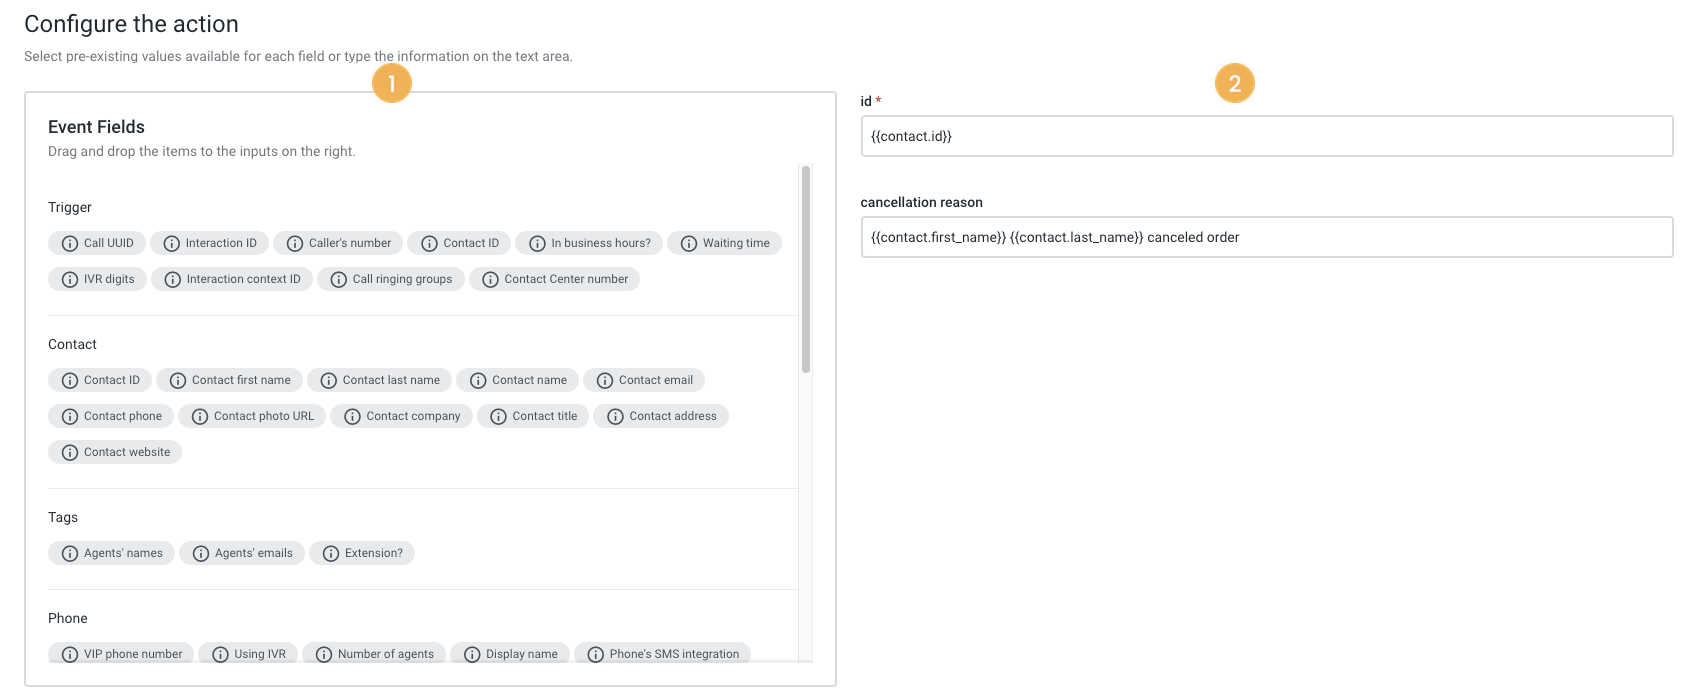
The “Event Fields” [1] and the input form [2].
To use the “Event fields” on the input form, you can click and drag the desired chip onto the desired input. Besides the available event fields, it’s also possible to use Studio Context Variables. Please consult more information here.
Configuring an automation's input fields
Input fields are dynamically generated from the query parameters and the input schema defined in the action chosen and rendered in the input form:
- Number and string are rendered as text boxes.
- Boolean is rendered as a checkbox.
- Enum is rendered as a dropdown.
- Array and object are rendered as text areas.
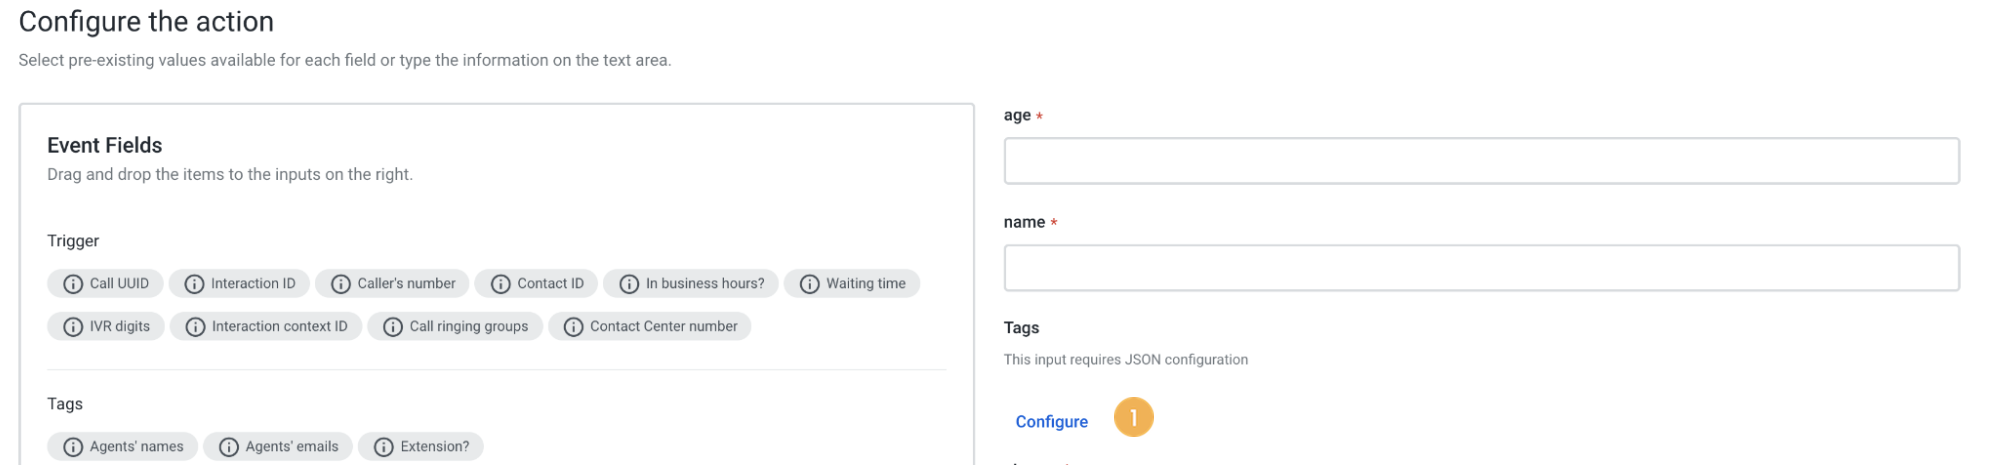
Initially, arrays and objects are presented in read-only mode. To fill out the inputs, click on the Configure button [1].
This will allow you to change the input fields., It will also show the related input schema and a pre-filled JSON template to help you configure the correct values.
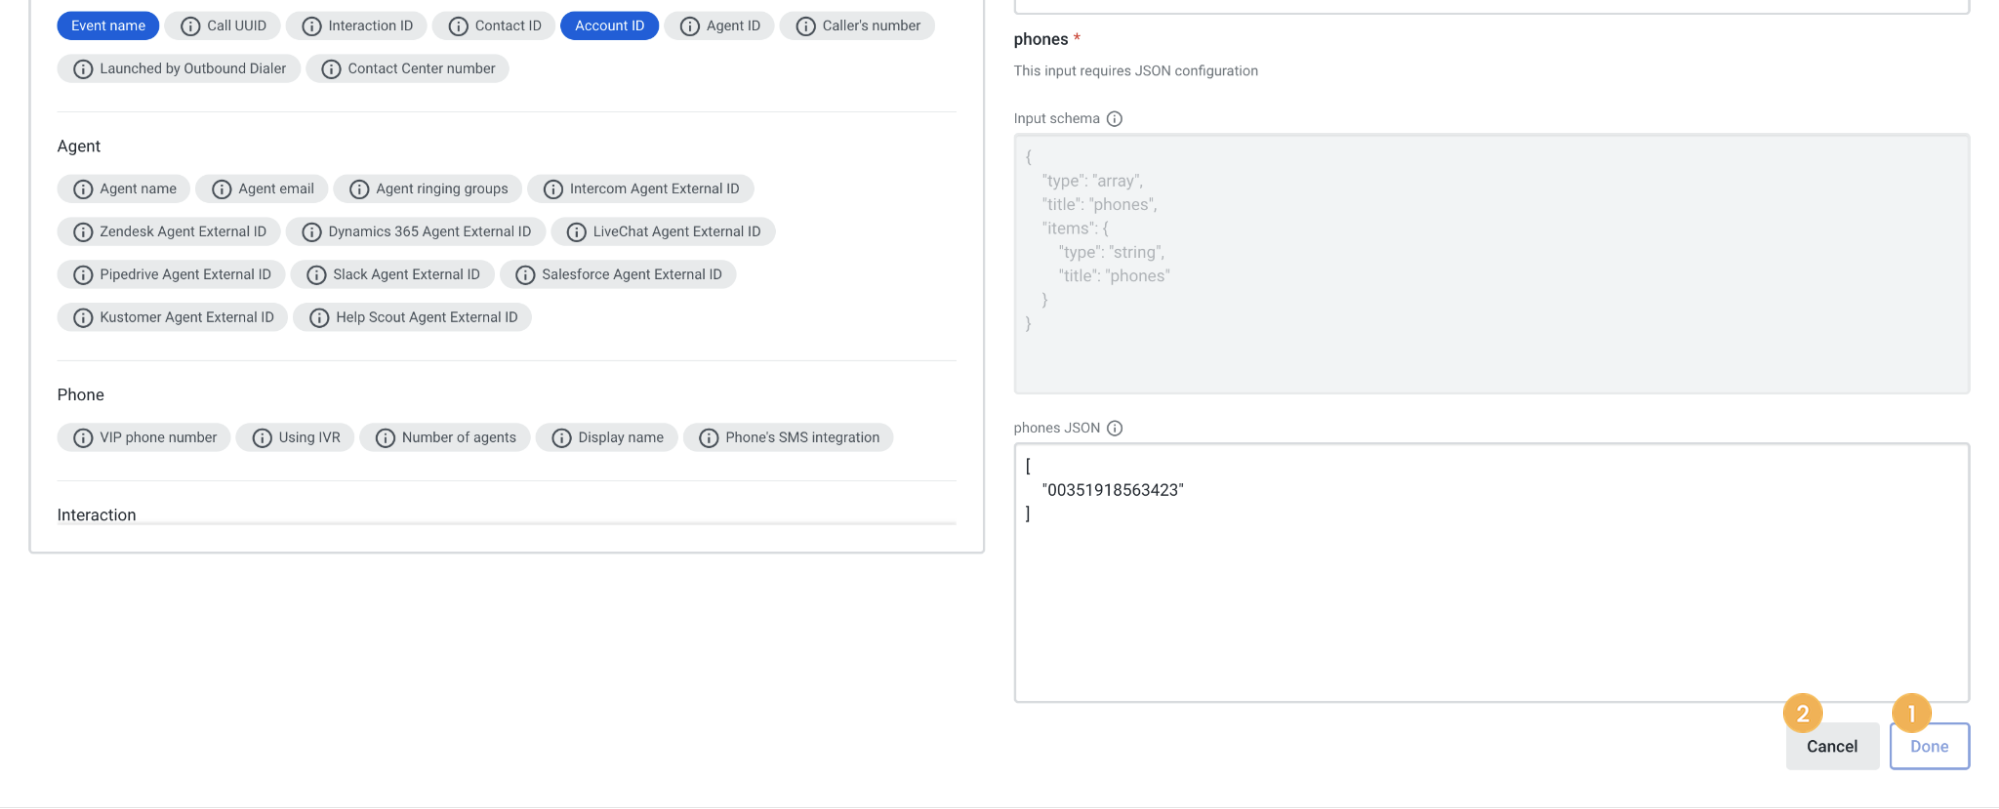
To save the input, click on the Done button [1]. To cancel changes made, select Cancel [2].
Note: Since the configuration uses the JSON Schema defined on the Action and there are unlimited configurations, we cannot predict all possible scenarios. Please refer to the article Automations on Connections to learn more about those scenarios.
Saving an automation
To save an automation, click on the Save button [1] on the page header.