The process to access Autopilot takes three steps, led both by Talkdesk and your account administrator, at a later stage.
The first phase of the process, managed by our internal teams, consists of the creation of the Autopilot and the conversation flow, which is based on a prebuilt set of topics following the needs of your business.
Once the Autopilot enablement is done on the Talkdesk side, the Autopilot component must be configured in Studio.
At the same time, your account administrator will be provided with an account-specific installation link that is used to enable the Autopilot application on Workspace, which allows your supervisors to monitor the live and archived sessions carried out by Autopilot.
Activating Autopilot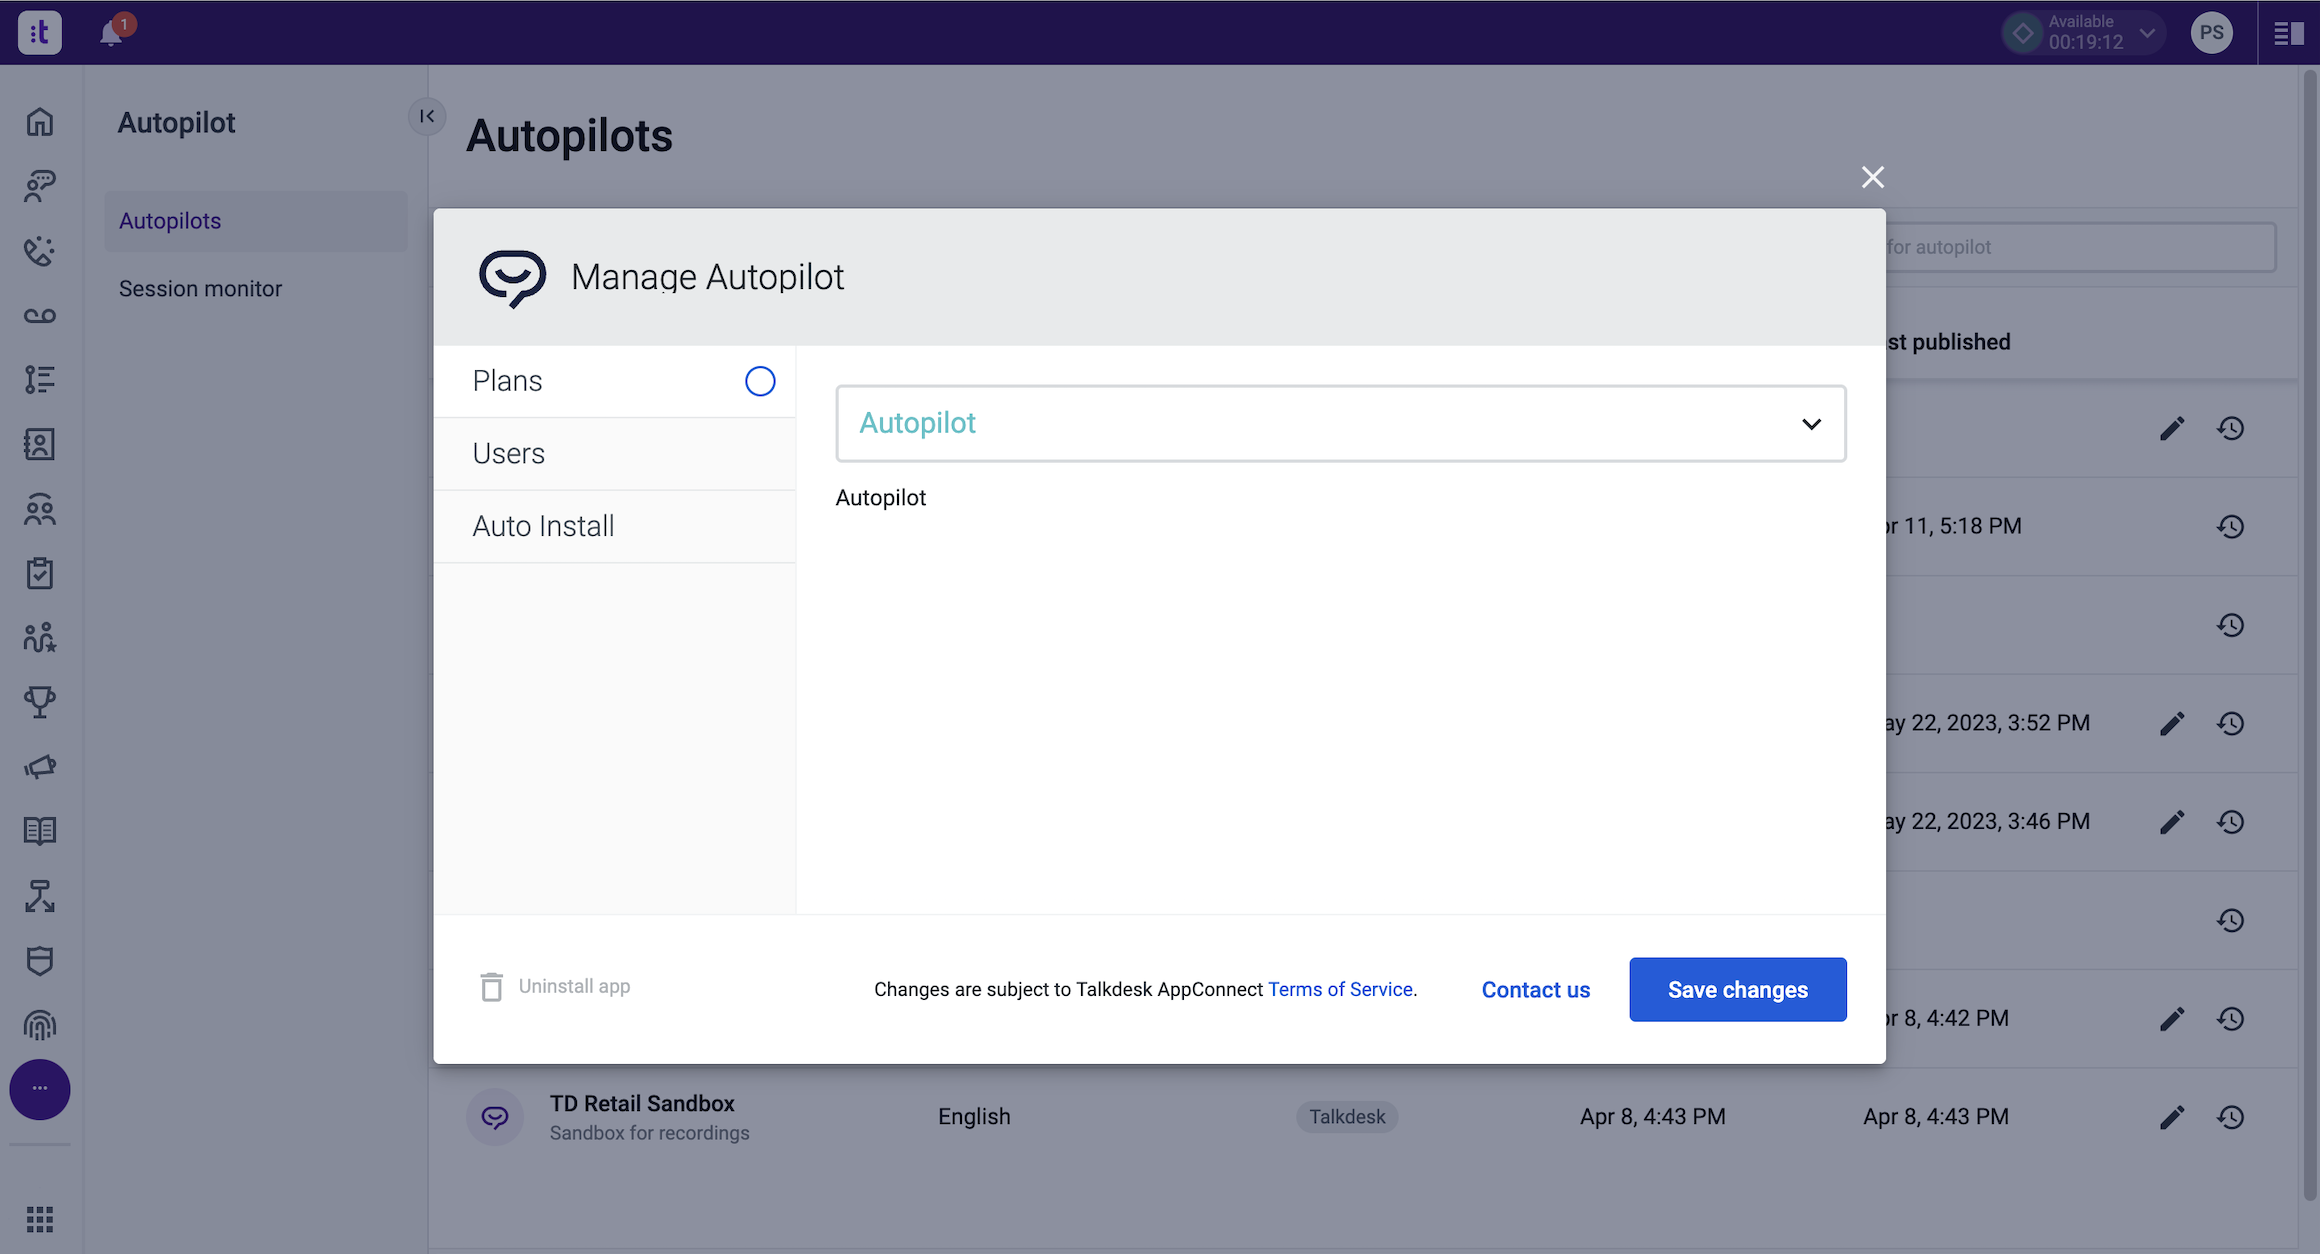
Use the link that was provided to your account administrator. Log in to your Talkdesk account, by entering your account name and clicking Login, and proceed to configure the settings by completing the following steps:
1. Choose the full plan [1], the roles, or users who will have access to the application [2], and click Save changes [3].
2. A confirmation message of the successful installation will be displayed on your screen. Click the Submit [4] button to proceed.
When the account administrator enables the application for the account, it will be immediately available on the Talkdesk main web application.
Administrators and account supervisors will be able to see the Autopilot application under My Apps in Talkdesk main web application and access and start it from there, simply by double-clicking on it.
Once on the Autopilot page, supervisors can see the existing virtual agents [5], as well as information on their last edited [6] and published dates [7].
When clicking on any of the existing virtual agents’ names, further information will be displayed, such as the number of active sessions, the top intents, or the relation between the number of sessions and the resulting escalations.
For more information on this product, please visit the Autopilot: Overview article.