You can start exploring all the Talkdesk Guardian™ functionalities, such as “Users”, by following these steps:
1. Log in to your Talkdesk account as Admin.
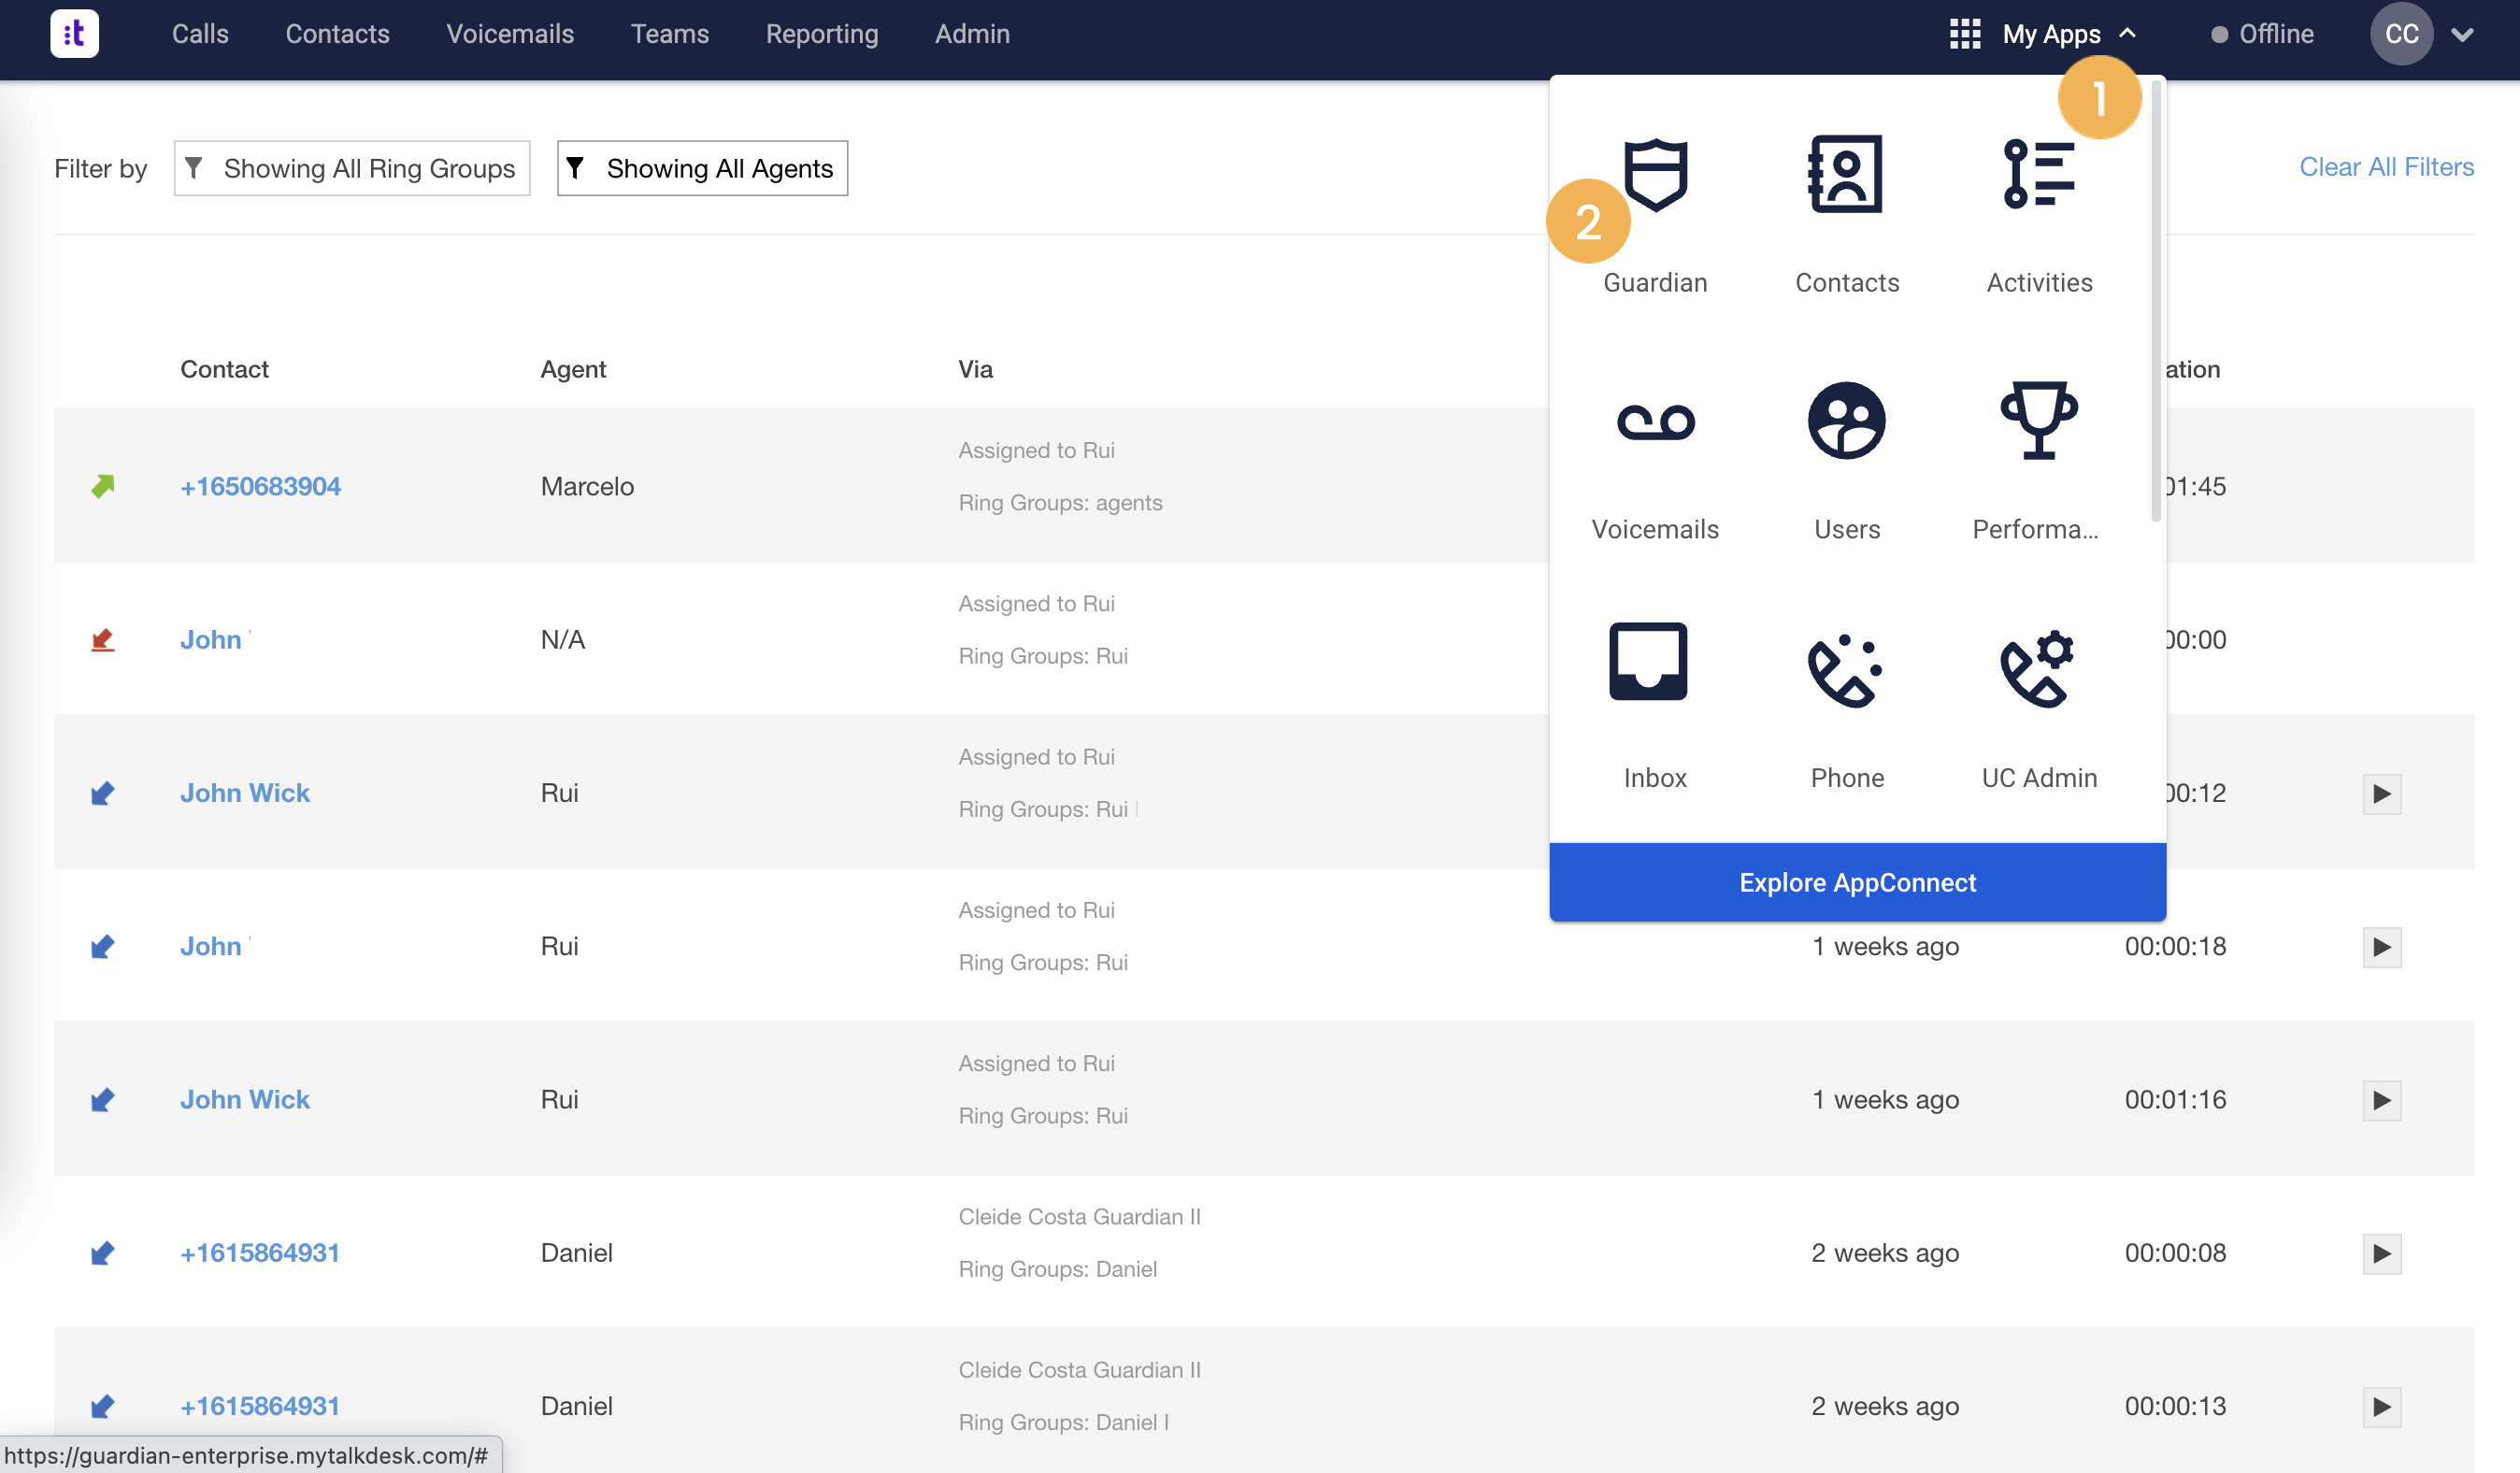
2. Click on My Apps [1].
3. On the pop-up screen, select Guardian [2].
A new window will appear, and you will be redirected to Guardian’s “Overview”.
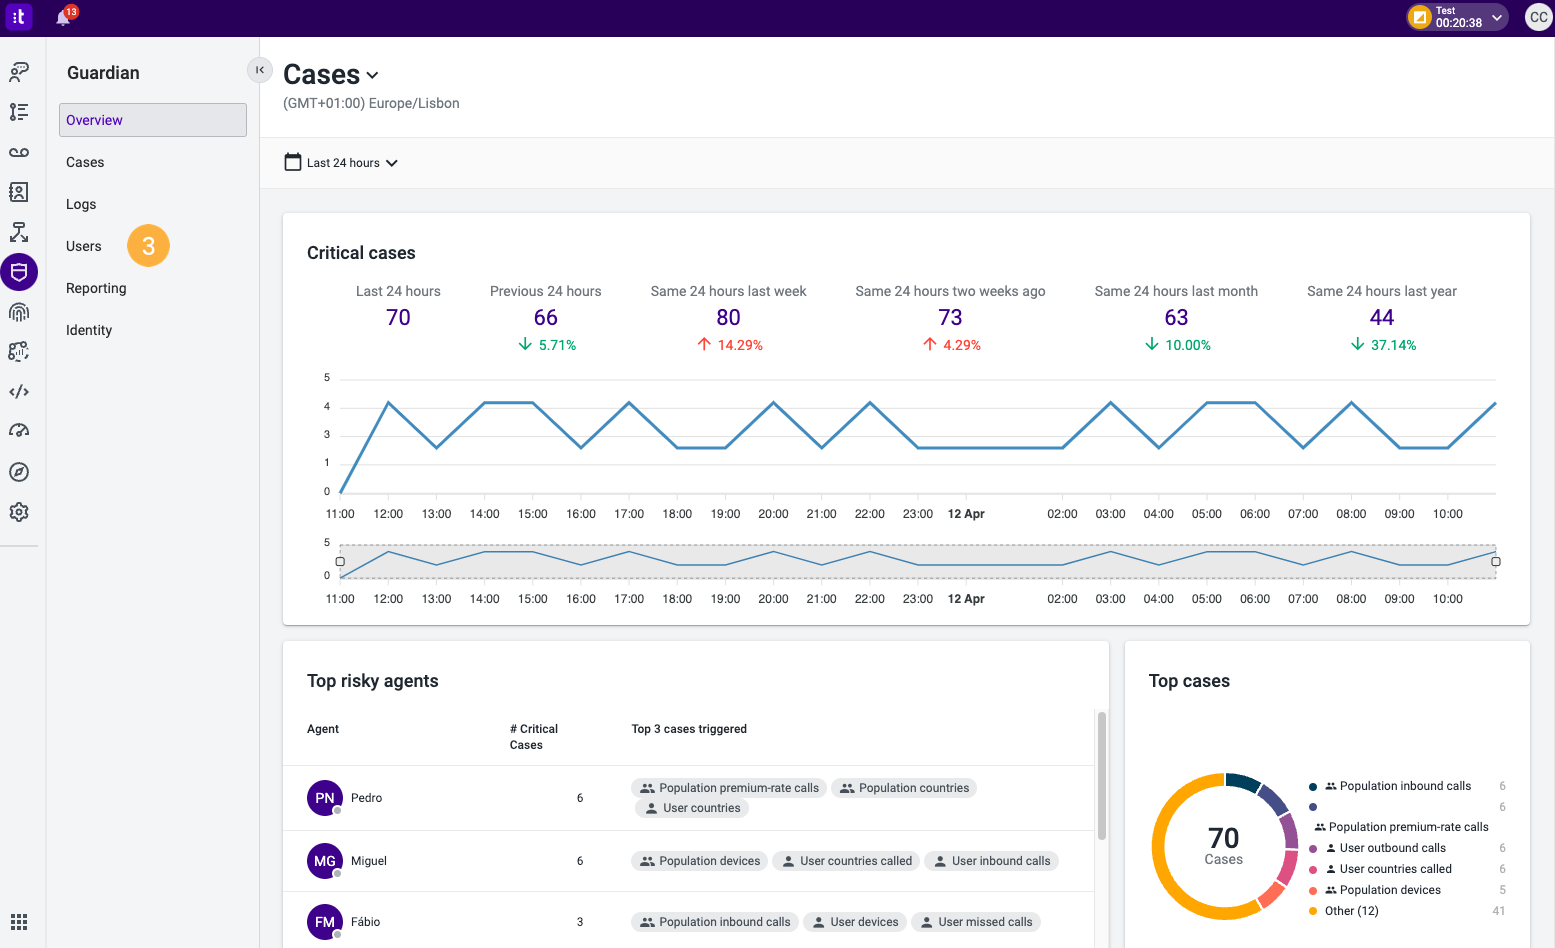
4. Choose Users [3].
On the “Users” page you will be briefed on specific information on your agents: who may be the riskier, what are their roles, and their ring groups, among other information.
You will see the following information:
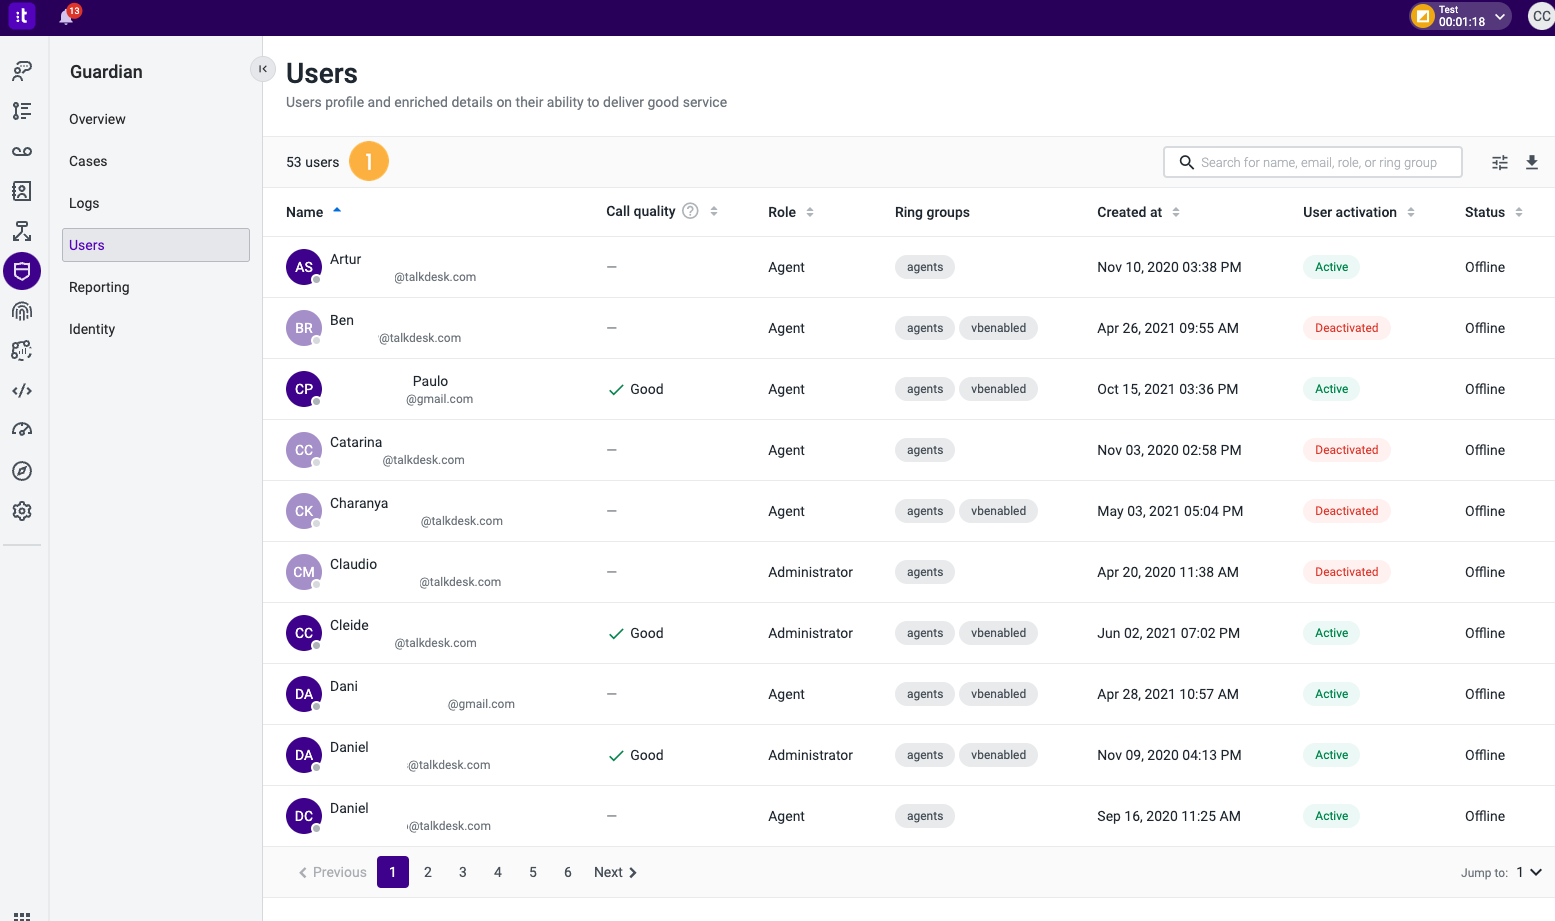
1. In the top left corner, you can see the total number of users [1] in the account.
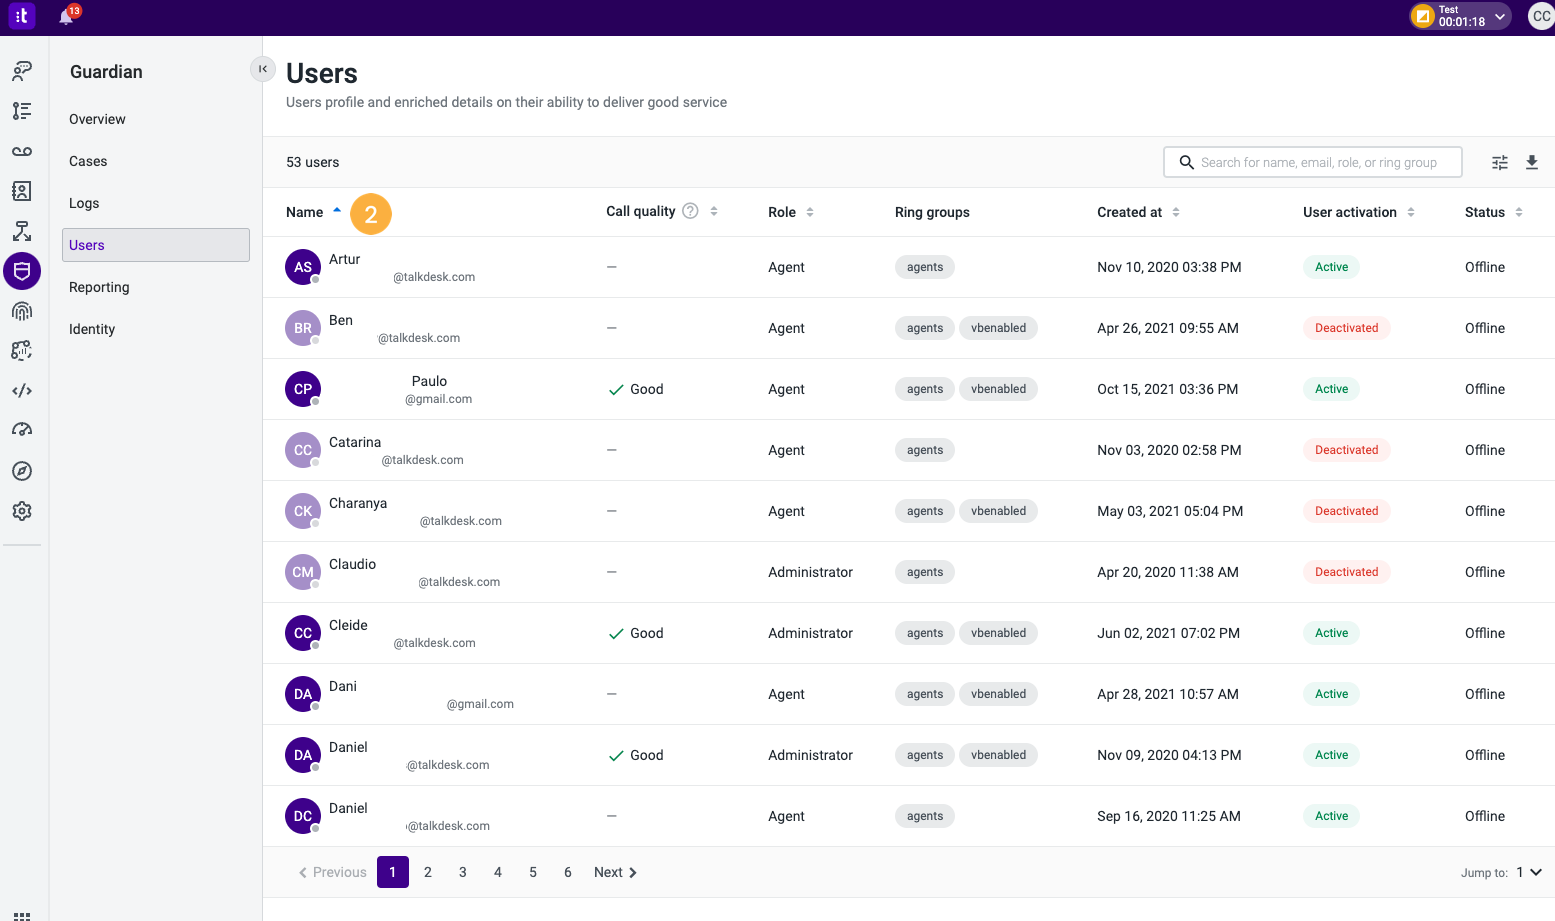
2. The first column displays the name and emails of the users [2], in alphabetical order.
Tip: You can invert this order by clicking on Name.
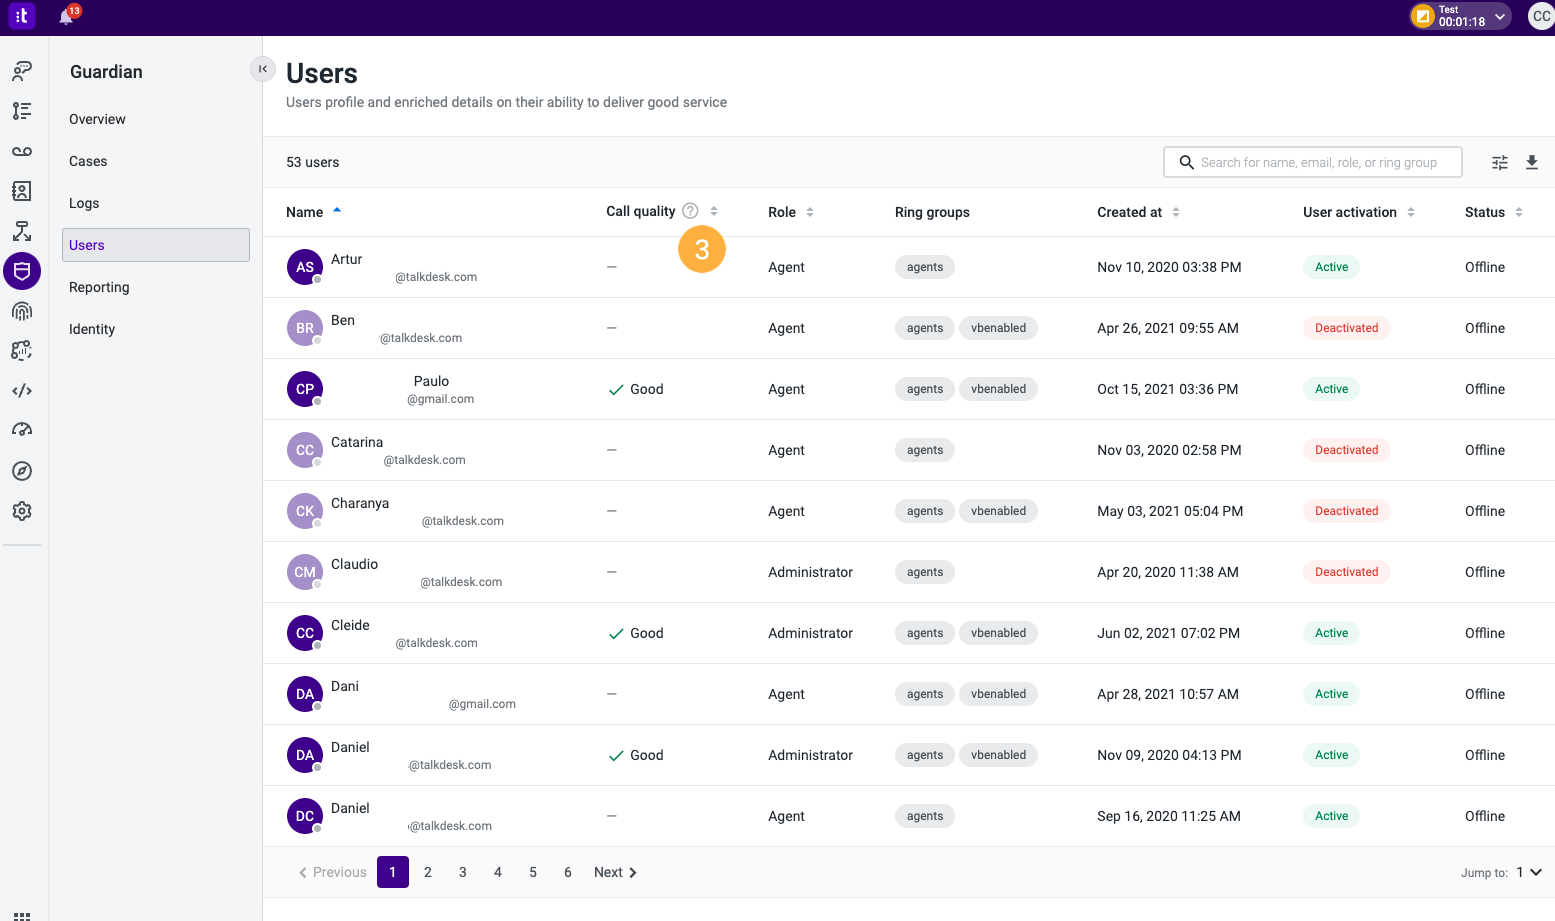
3. Secondly, you can see the Call quality [3] status based on the average MOS value of their previous calls.
The Mean Opinion Score (MOS) has been a commonly-used metric to measure the overall voice Call quality. The MOS score is a rating from 1 to 5 of the perceived quality of a voice call, 1 being the lowest score and 5 the highest, for excellent quality calls.
When the MOS score is:
- 3.5 or higher, then the call can be heard without effort and is classified as GOOD;
- Below 3.5, then there's an effort to understand the conversation, and the call is classified as BAD.
Although the quality of a call can be affected by different factors, the MOS score is calculated mainly by the following:
- Packet Loss - Voice samples lost during the call.
- In a call, small samples of voice, called packets, are sent and received. When one or more of these packets fails to reach their intended destination, this is called packet loss. If the packet loss is higher than 5%, the call becomes distorted and patchy.
- Jitter - Time delay on a call due to network interference
- During a call, certain packets of information might be dropped, or sent out of order, leading to a jumbled conversation. When the jitter is higher than 30 ms, it starts impacting the audio quality.
- Round Trip Time - Time for a packet to be sent to a destination and getting the response back.
- Measures the length of time it takes for a data packet to be sent to a destination, plus the time it takes for an acknowledgment to return to the origin. A call with an RTT score higher than 400 ms delivers a poor quality, non-reliable customer experience.
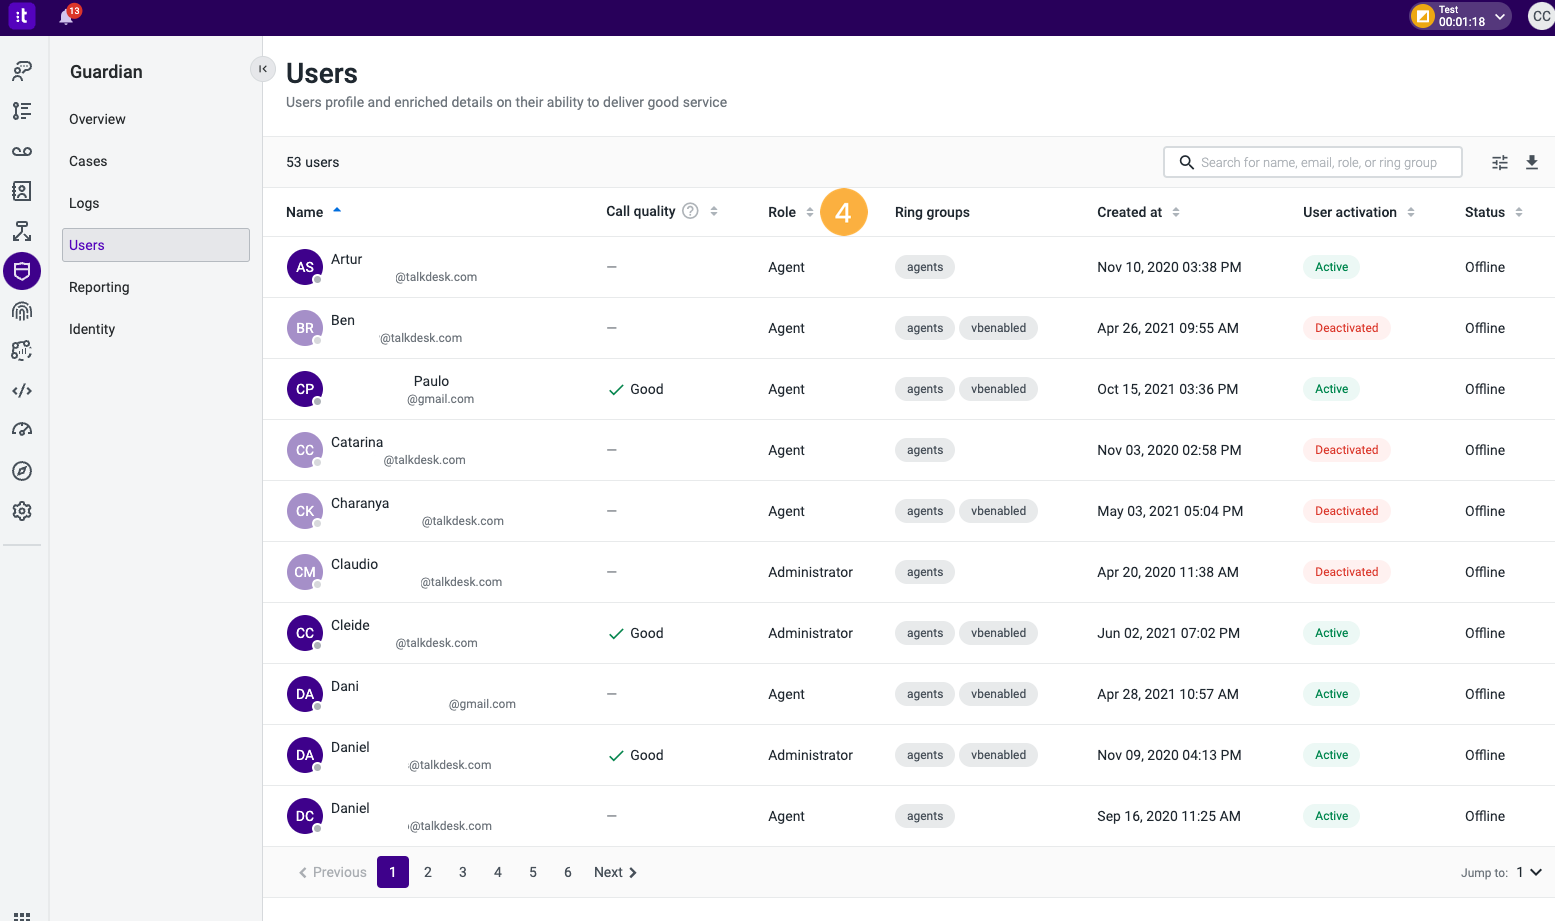
4. On the third column, you can see the Role [4] of each user. Like in the Name column, entries are ordered alphabetically, but you can rearrange them by selecting Role.
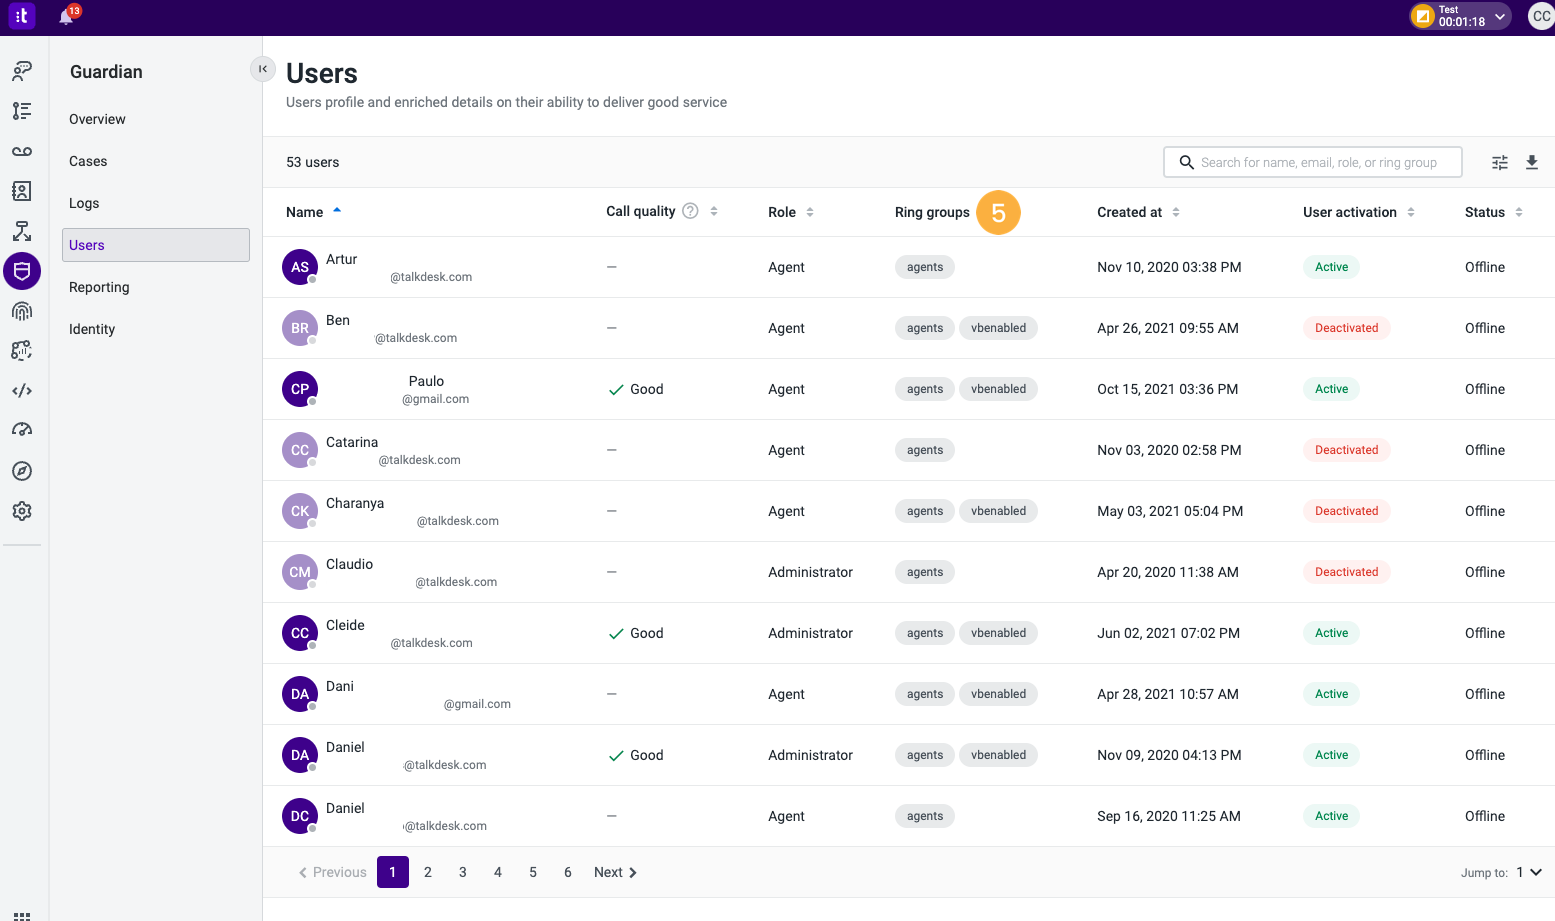
5. In this tab, you can see each agent’s “Ring groups” [5].
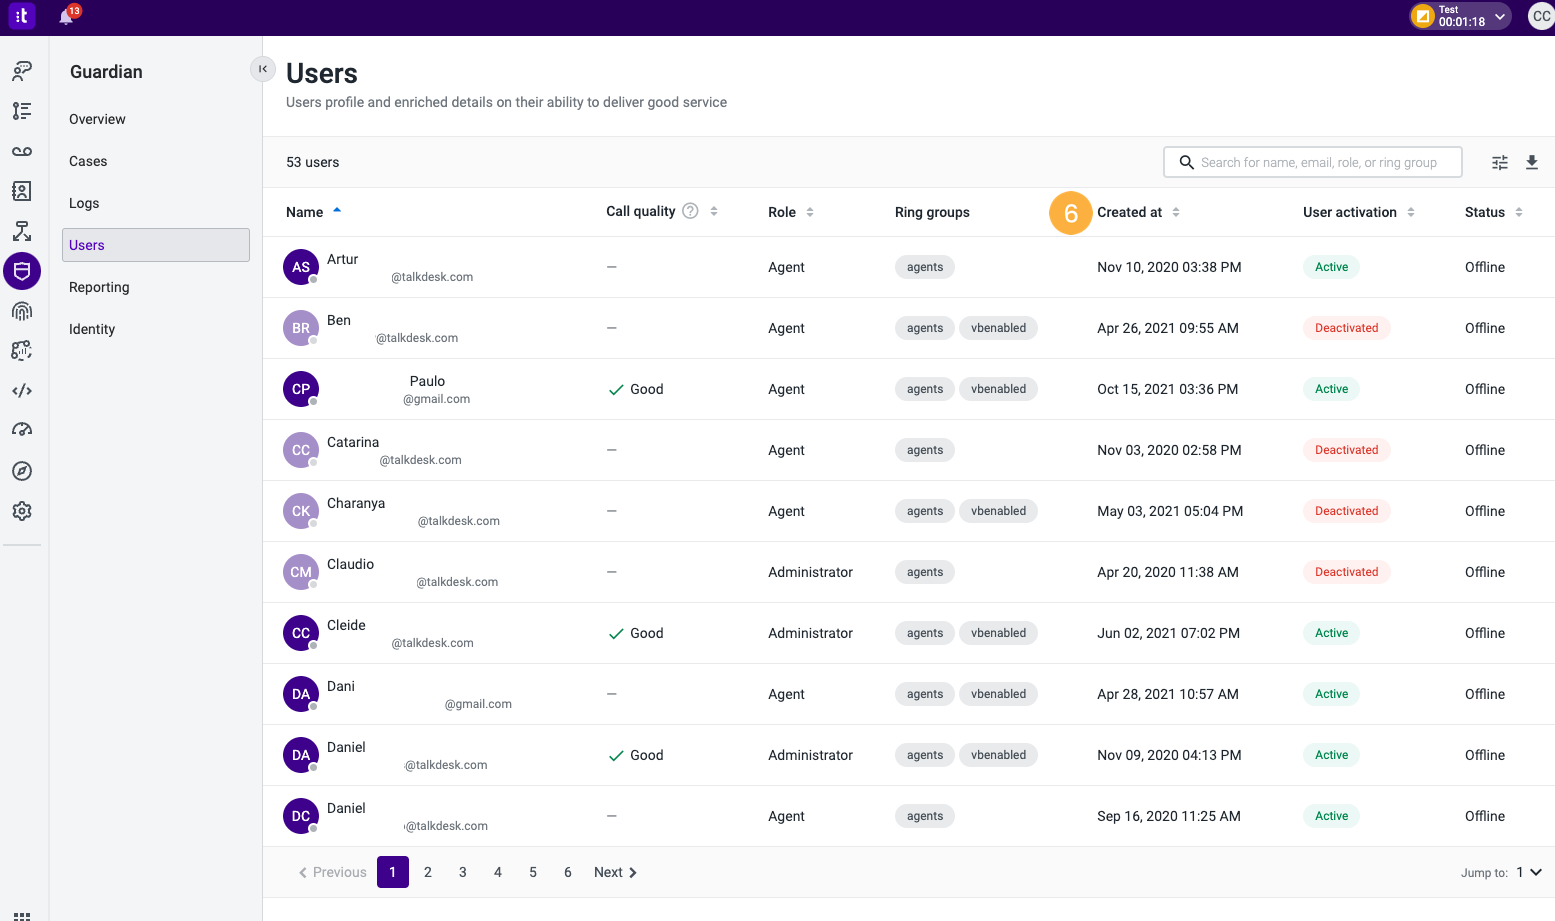
6. Created at[6] shows the exact date (day, month, year, and time) when the agent’s account was created.

- User activation [7] shows the user’s current account status.
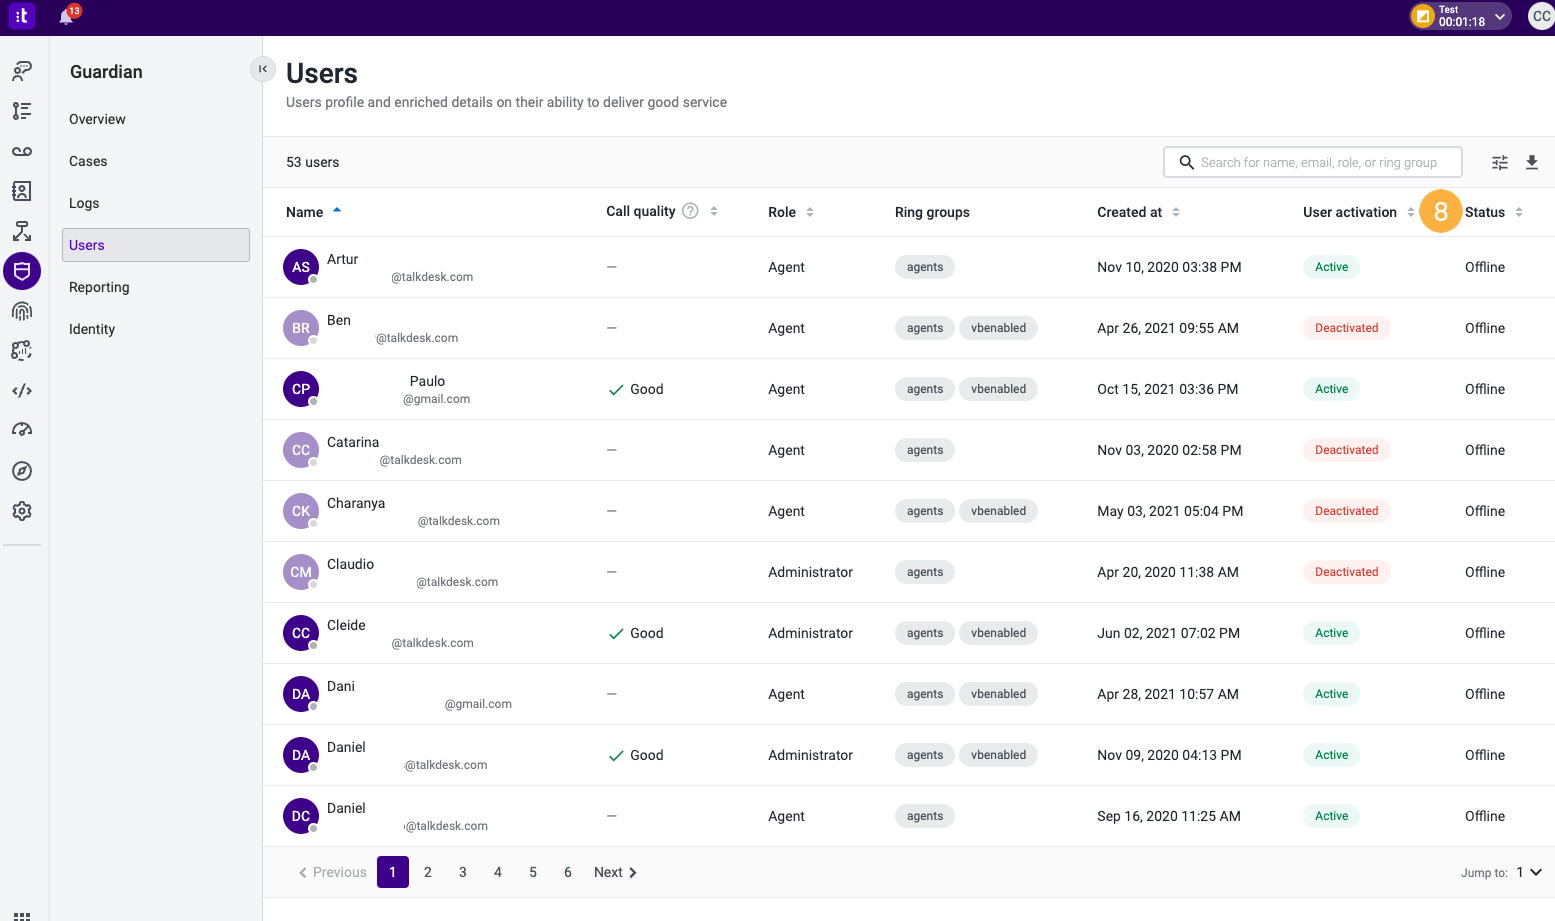
- Status [8] allows you to know the user’s status, e.g., “Offline”, “Available”, “Away”, among others. This information matches the colored circle on the right side of the agent’s initials.
Note: If your agent is “Offline”, as in this example, the icon will be gray. On the other hand, if the agent is “Available”, the icon will be green.
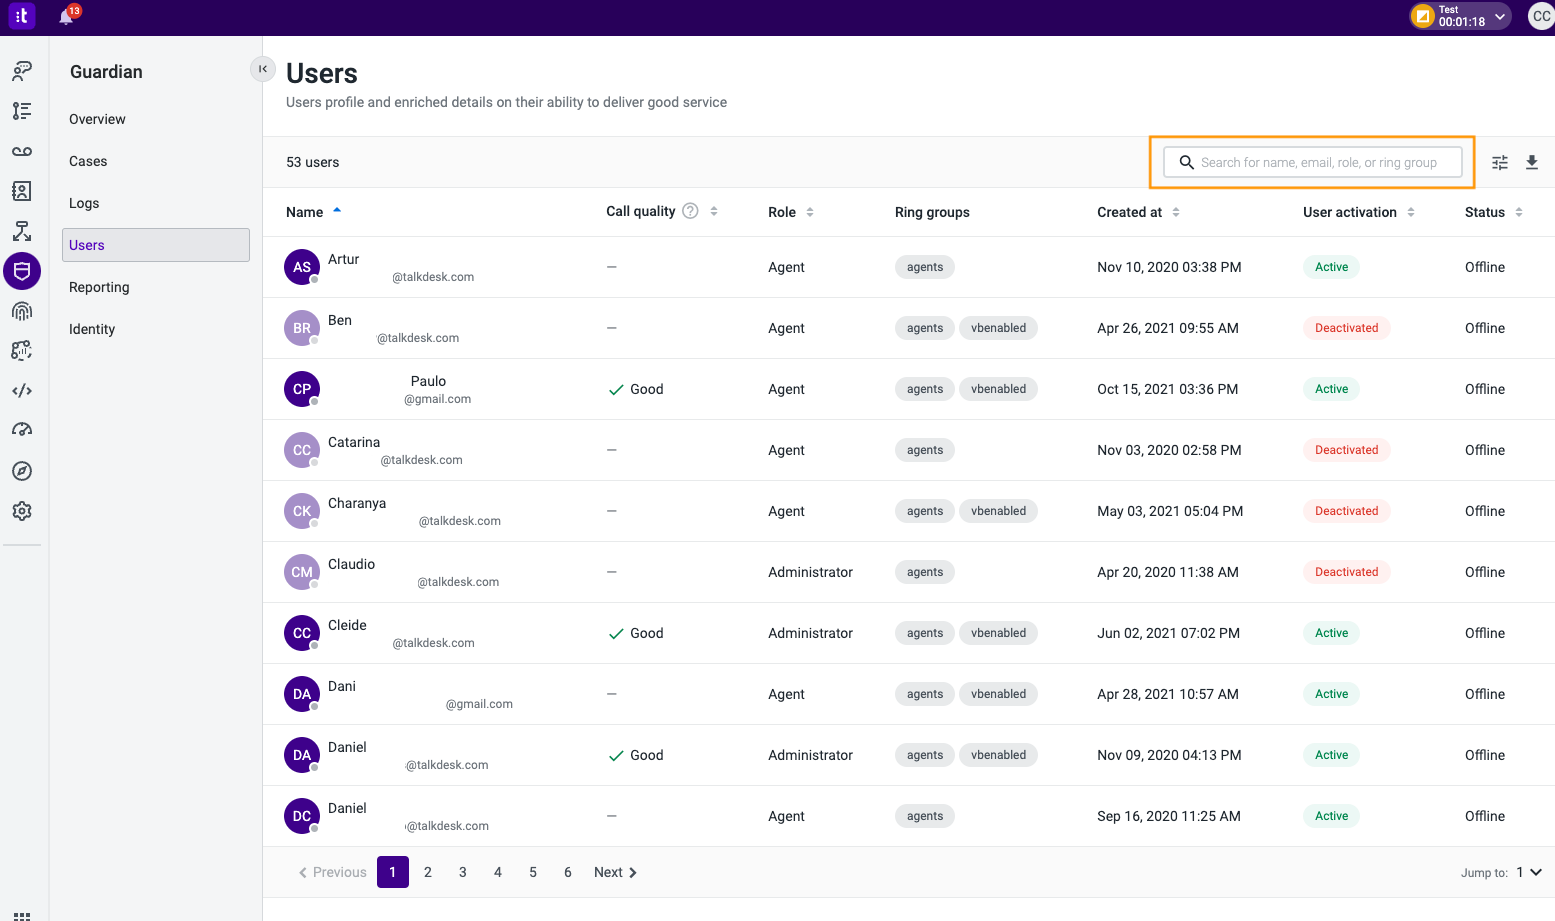
9. To get more specific information, you can use the search bar, on the top right side.
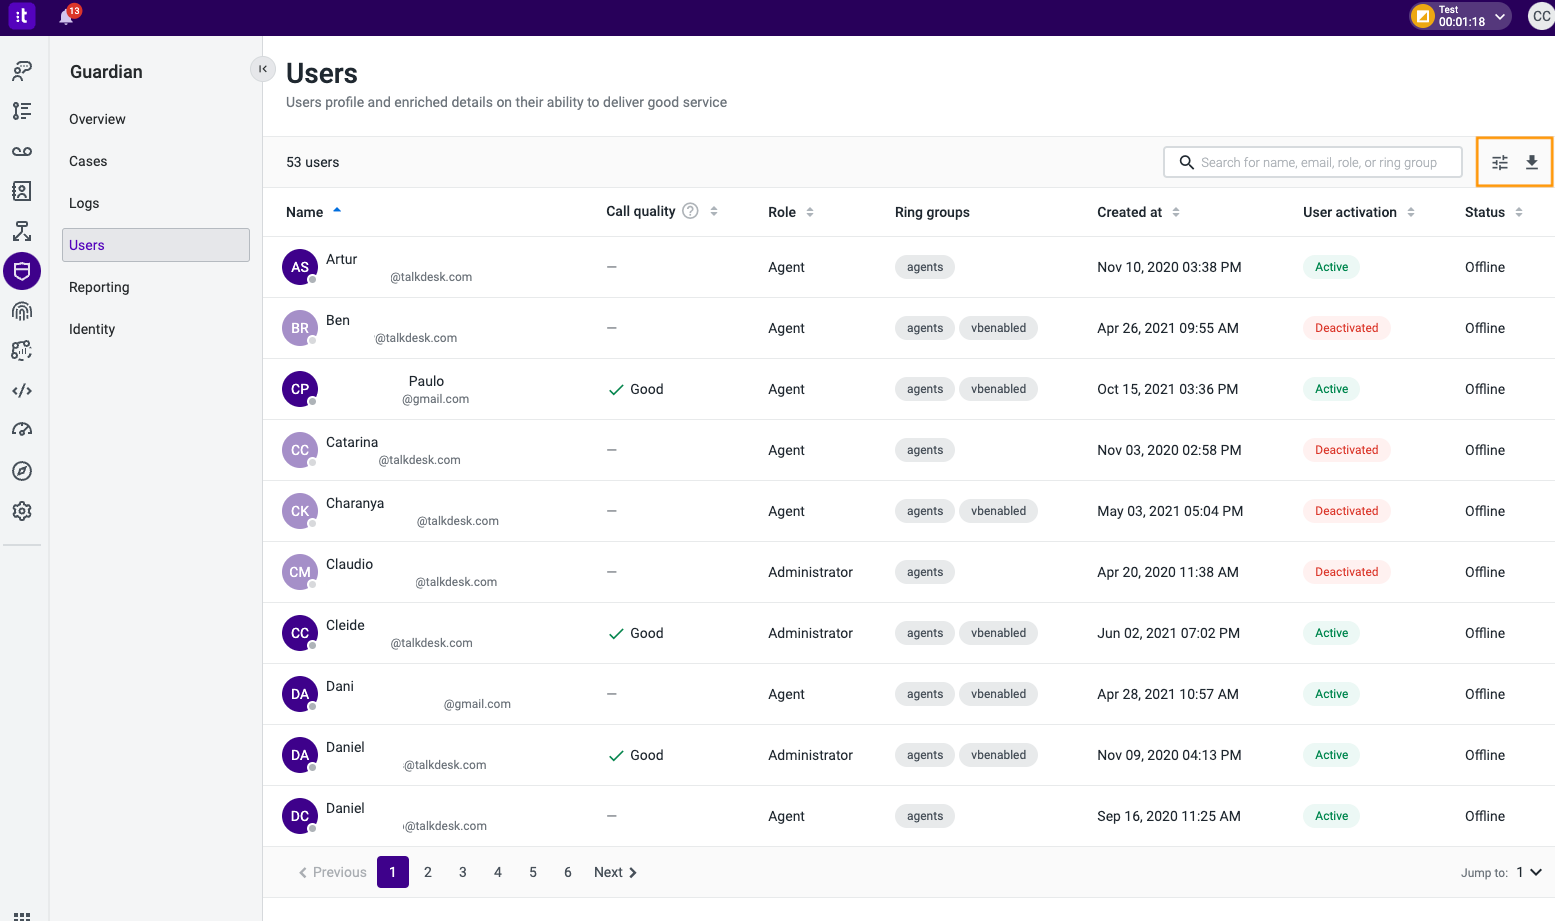
10. By clicking on the “Table options” icon, in the top right corner, you have the option to select how many items you want to see per page. Right next to it, you’ll see the “Download” icon, allowing you to transfer the filtered data to your computer.

- To see user details, just click on the user’s name and a side panel will open.
The “User details” panel will display the user’s last 3 sessions information and provide a button so that you can see their session information for the last 30 days, as well as the Call quality score presented in the User's list.
12. To see further call quality details, click on the Call quality tab.
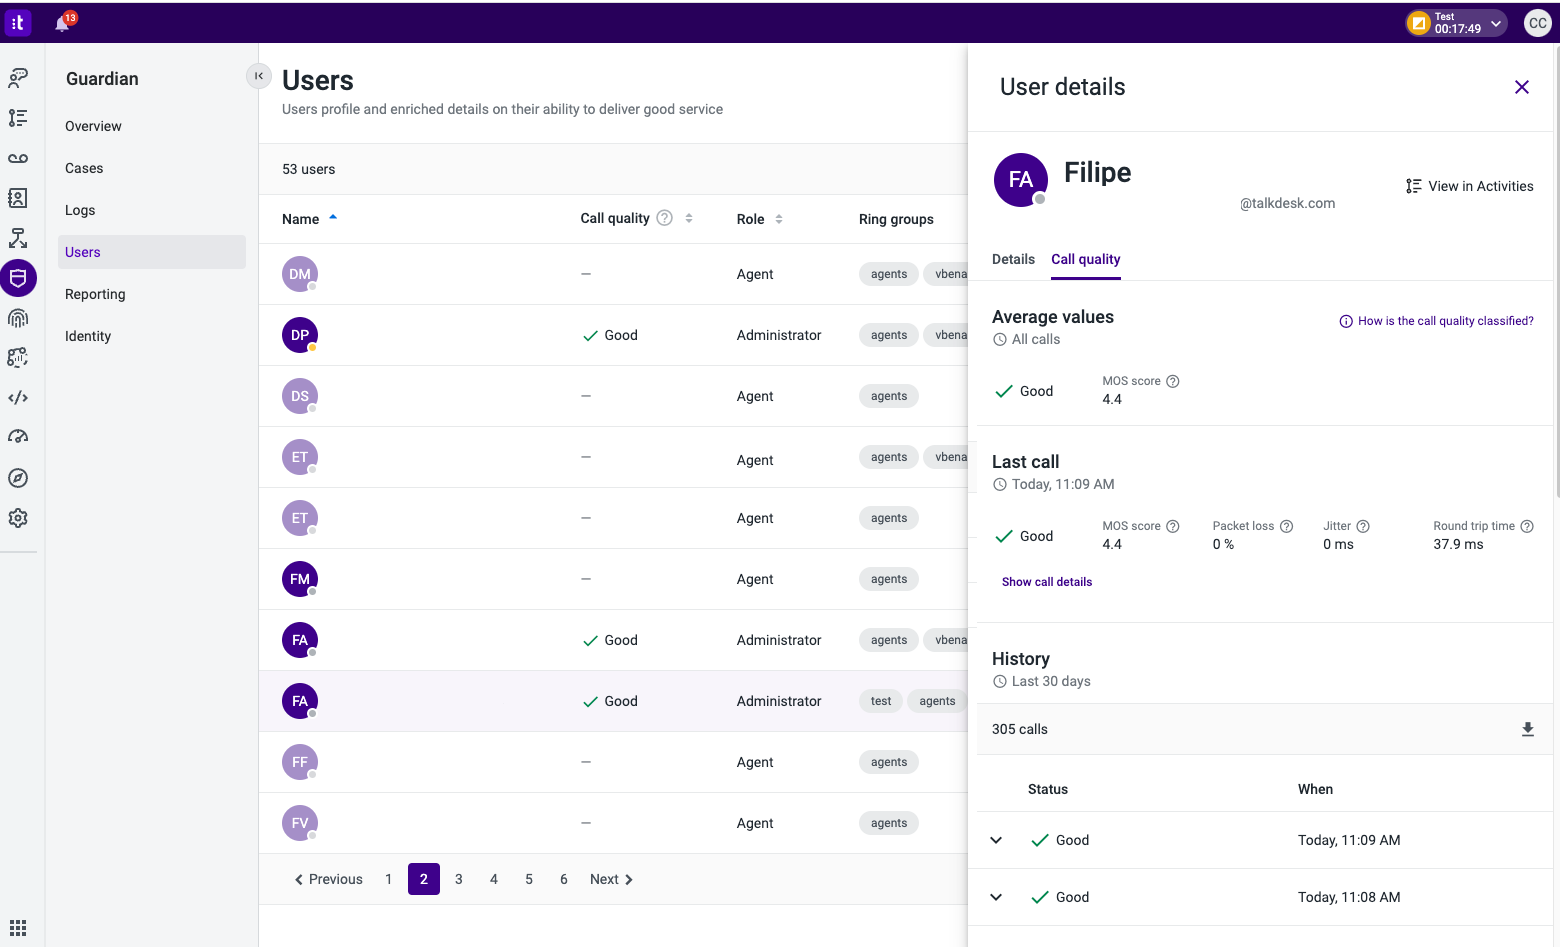
This tab displays the “Average values” for the Call quality status and MOS, based on the previous calls and the “Last call” metrics:
- Call quality qualification as Bad or Good, based on the MOS score.
- MOS score.
- Packet loss.
- Jitter.
- Round Trip Time.
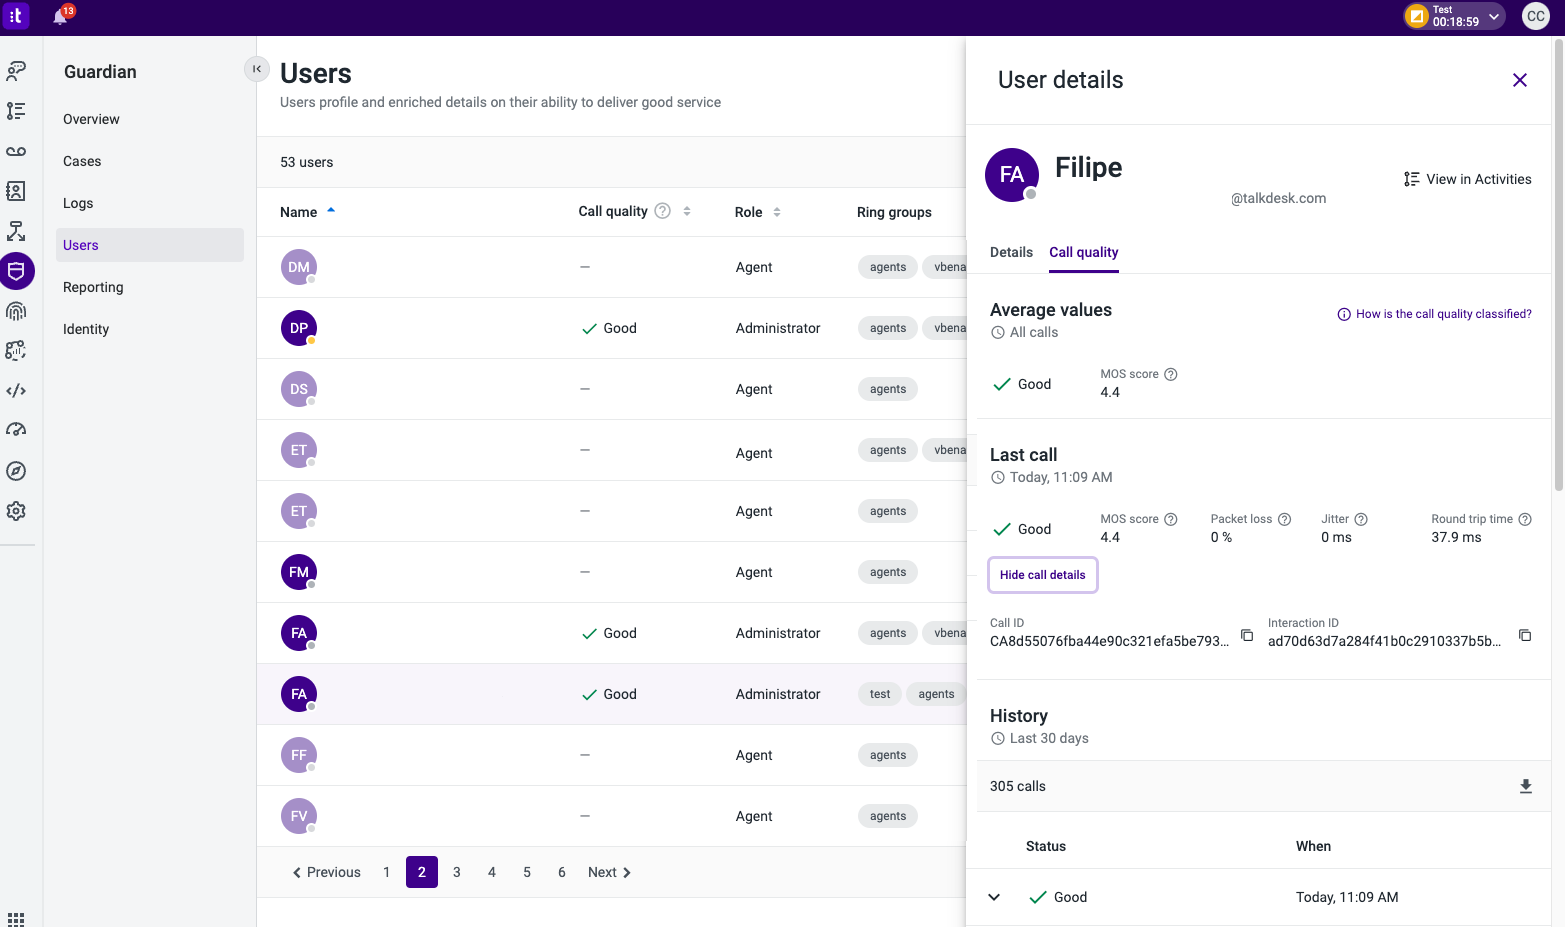
By clicking on the Show call details section, you can see the “Call ID” and “Interaction ID” for the last call, and copy those IDs to search for more insights on the call.
Note: To have context on which call leg generated which call quality insights being shown by Guardian, it is necessary to navigate into the “Activities” app or the “Activity” tab within the user record on the “Contacts” app.

You can see the call quality metrics for previous calls in the “History” section, and by clicking on the arrow next to the call quality status of a specific call, you can analyze its details.
The user can export the call quality history, for each individual user, into a .CSV file format, by clicking the Export button.

